Built Insights Workflow for Importing CxAlloy Project Data
This guide provides a straightforward process for importing CxAlloy project data into Built Insights, ensuring users can efficiently manage their project information. By following the steps outlined, users can seamlessly integrate their data, enhancing their project management capabilities. This resource is intended for Account Admins that will be setting up the integration of the CxAlloy software for use in the Built Insights software.
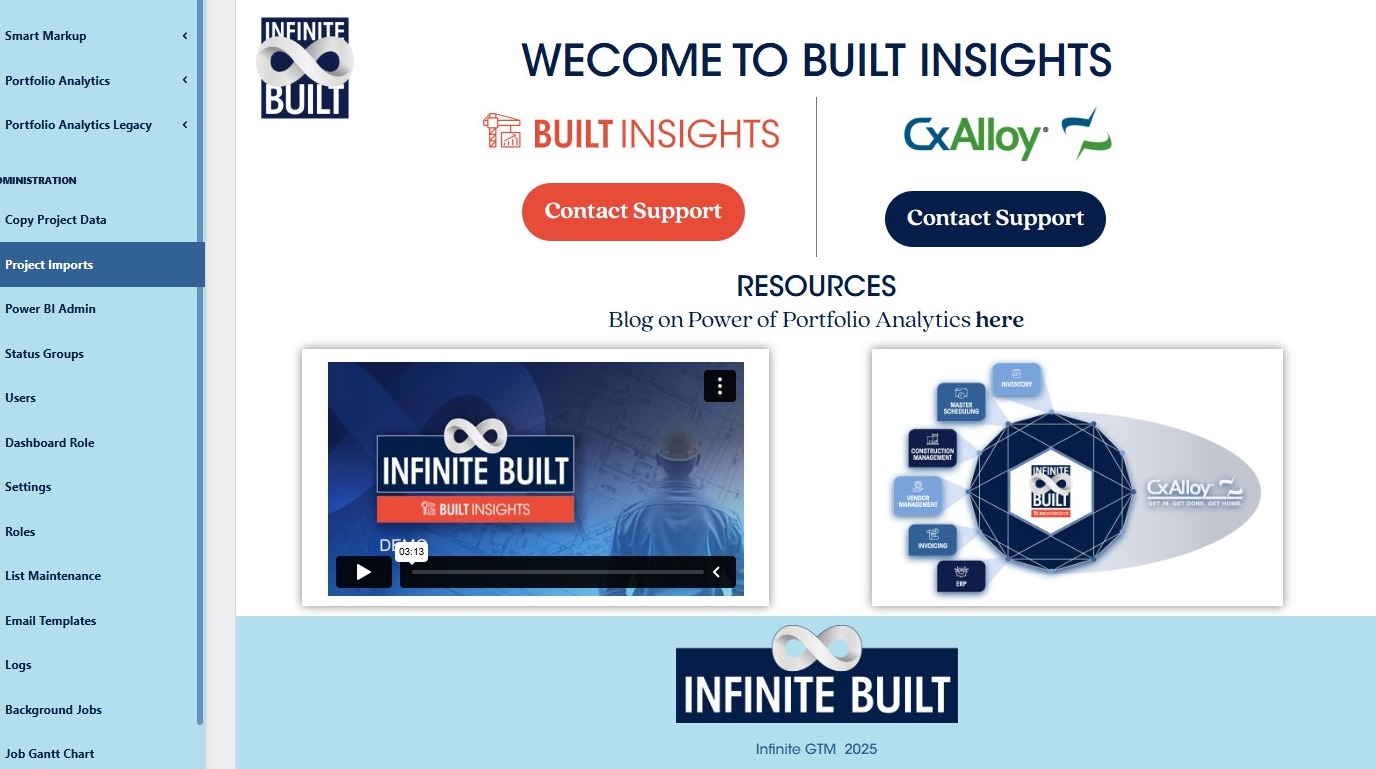
1. Navigate to your Built Insights Account and Login user your profile data.
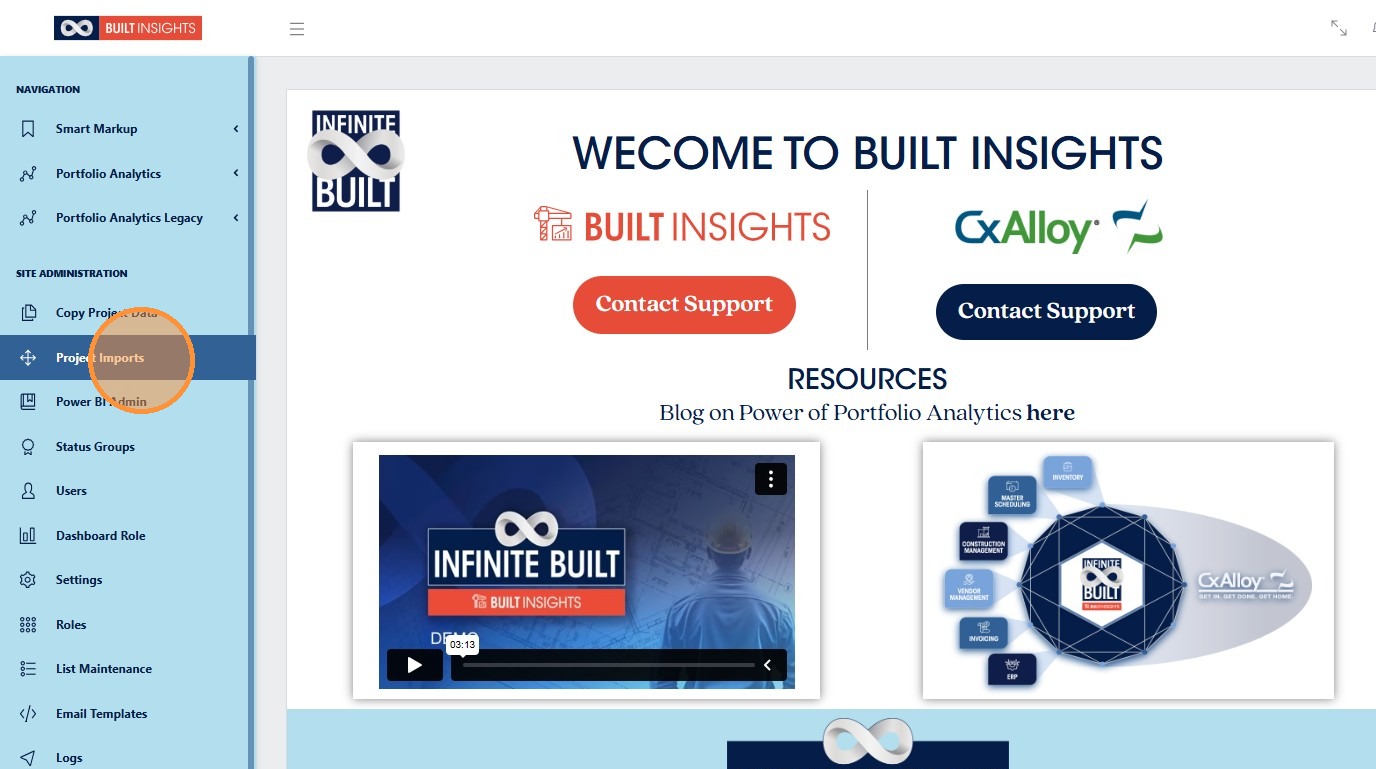
2. Click “Project Imports”
Alert: The following steps can only be completed if the user has the required CxAlloy API Identifier and Key. These are created using the CxAlloy software and not through the Built Insights Software. For assistance on this please reference the following link: CxAlloy TQ API
3. First you will need to enter the CxAlloy API Identifier found in CxAlloy and input that information into the “CxAlloy Identifier” field in Built Insights
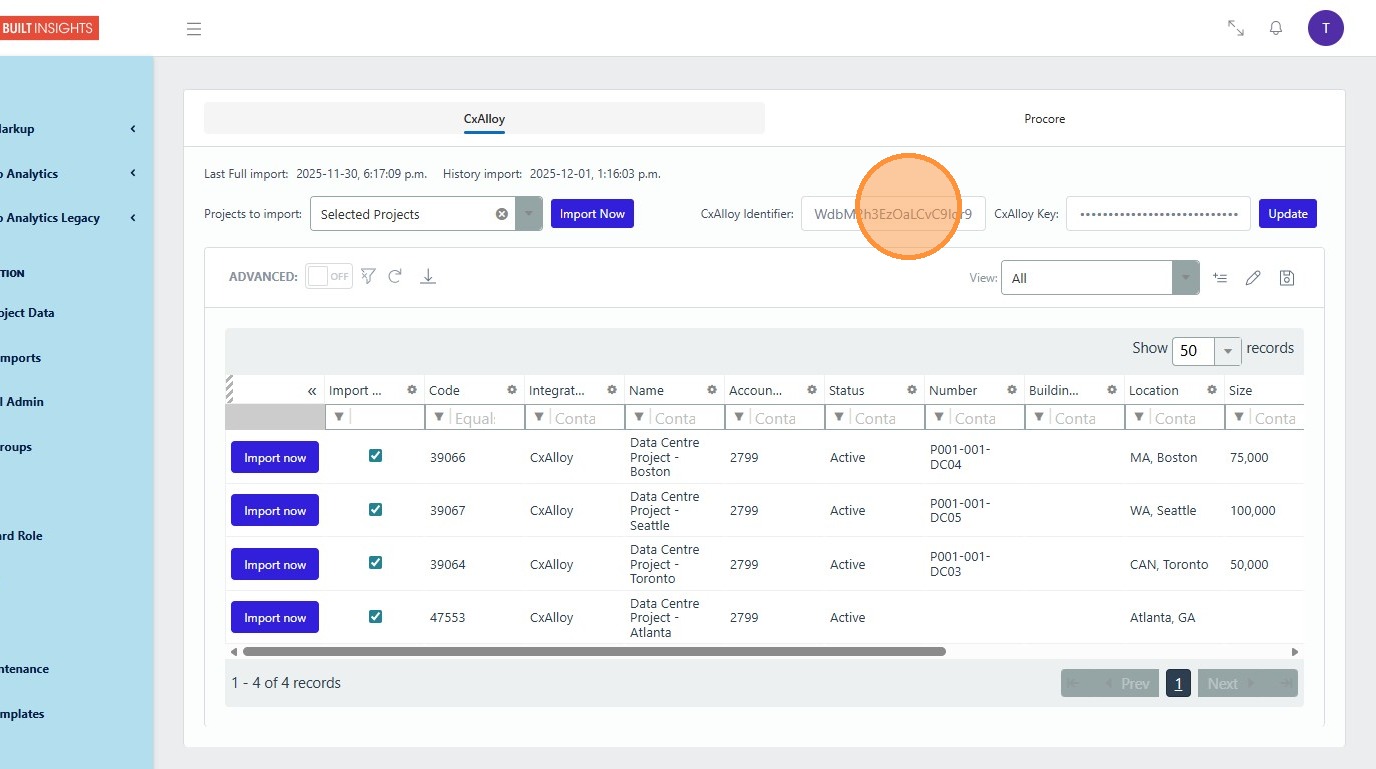
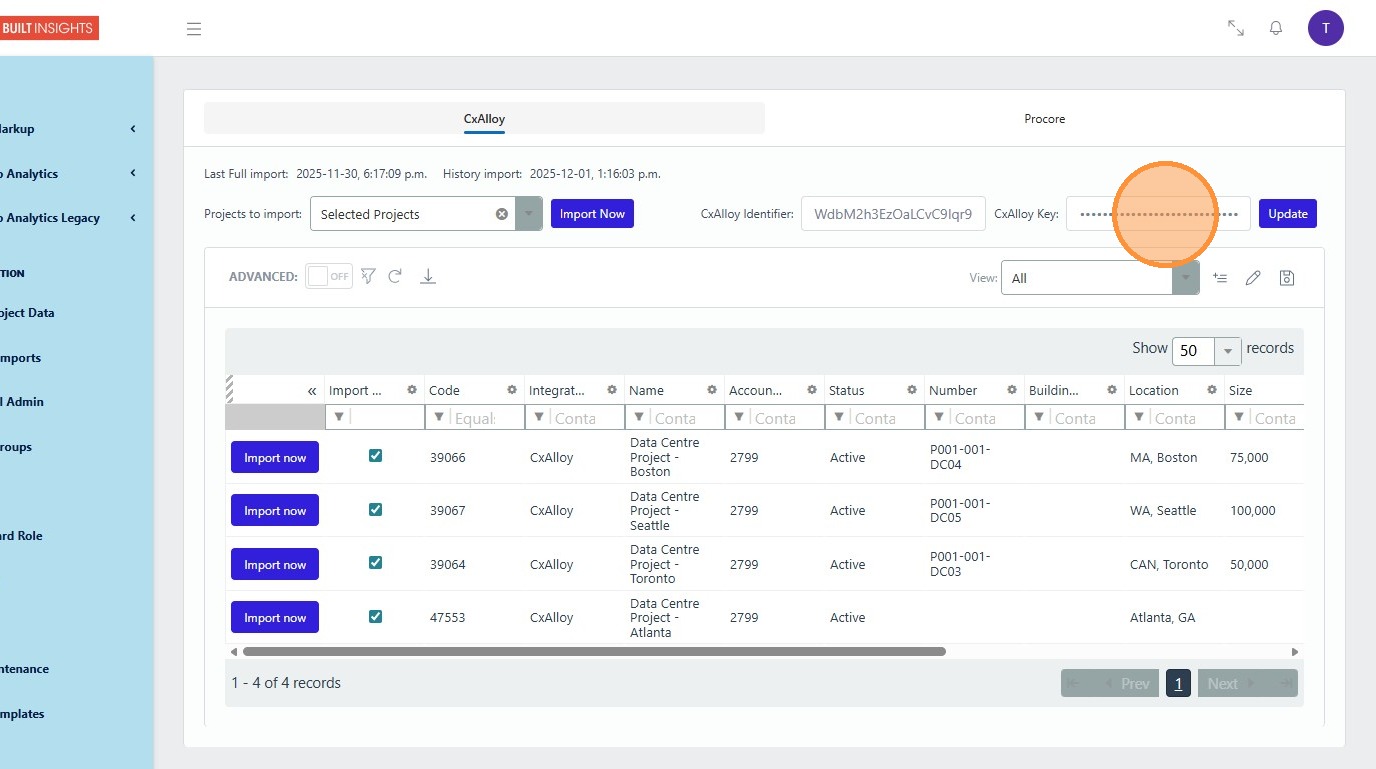
4. Next you will need to enter the CxAlloy Key also found in CxAlloy and input that information into the “CxAlloy Key” field in Built Insights
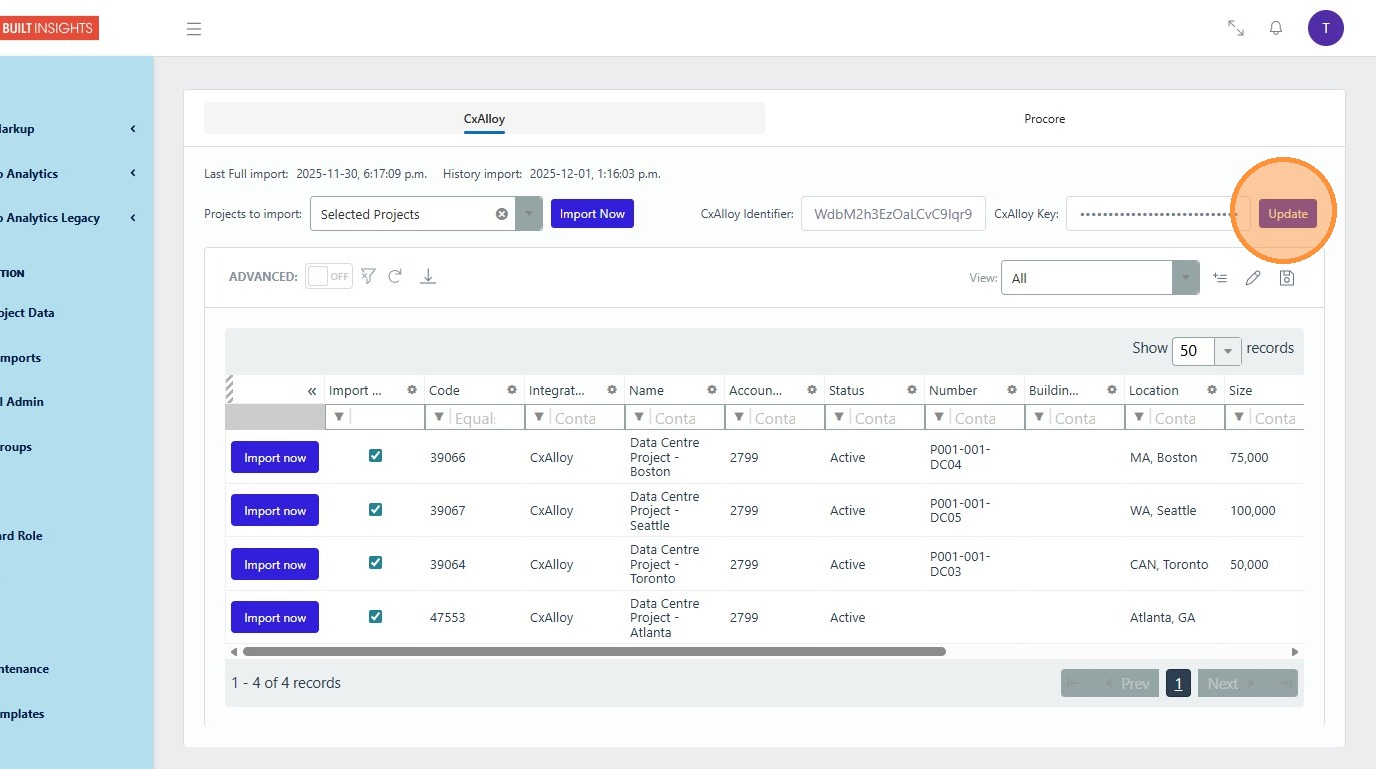
5. Once both pieces of information have been included then click “Update”
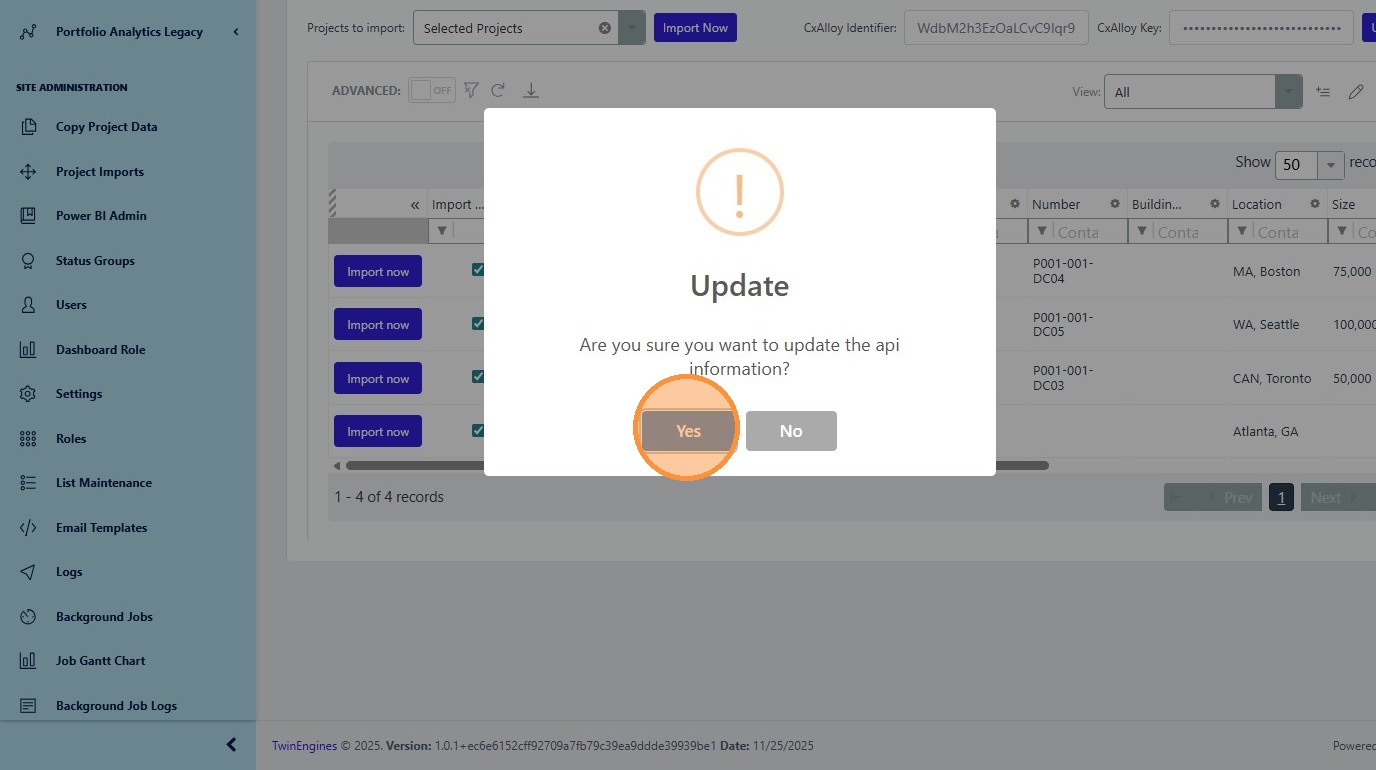
6. The Built Insights software will promote the user for a confirmation that they want to import the CxAlloy data. From here the user will click “Yes”
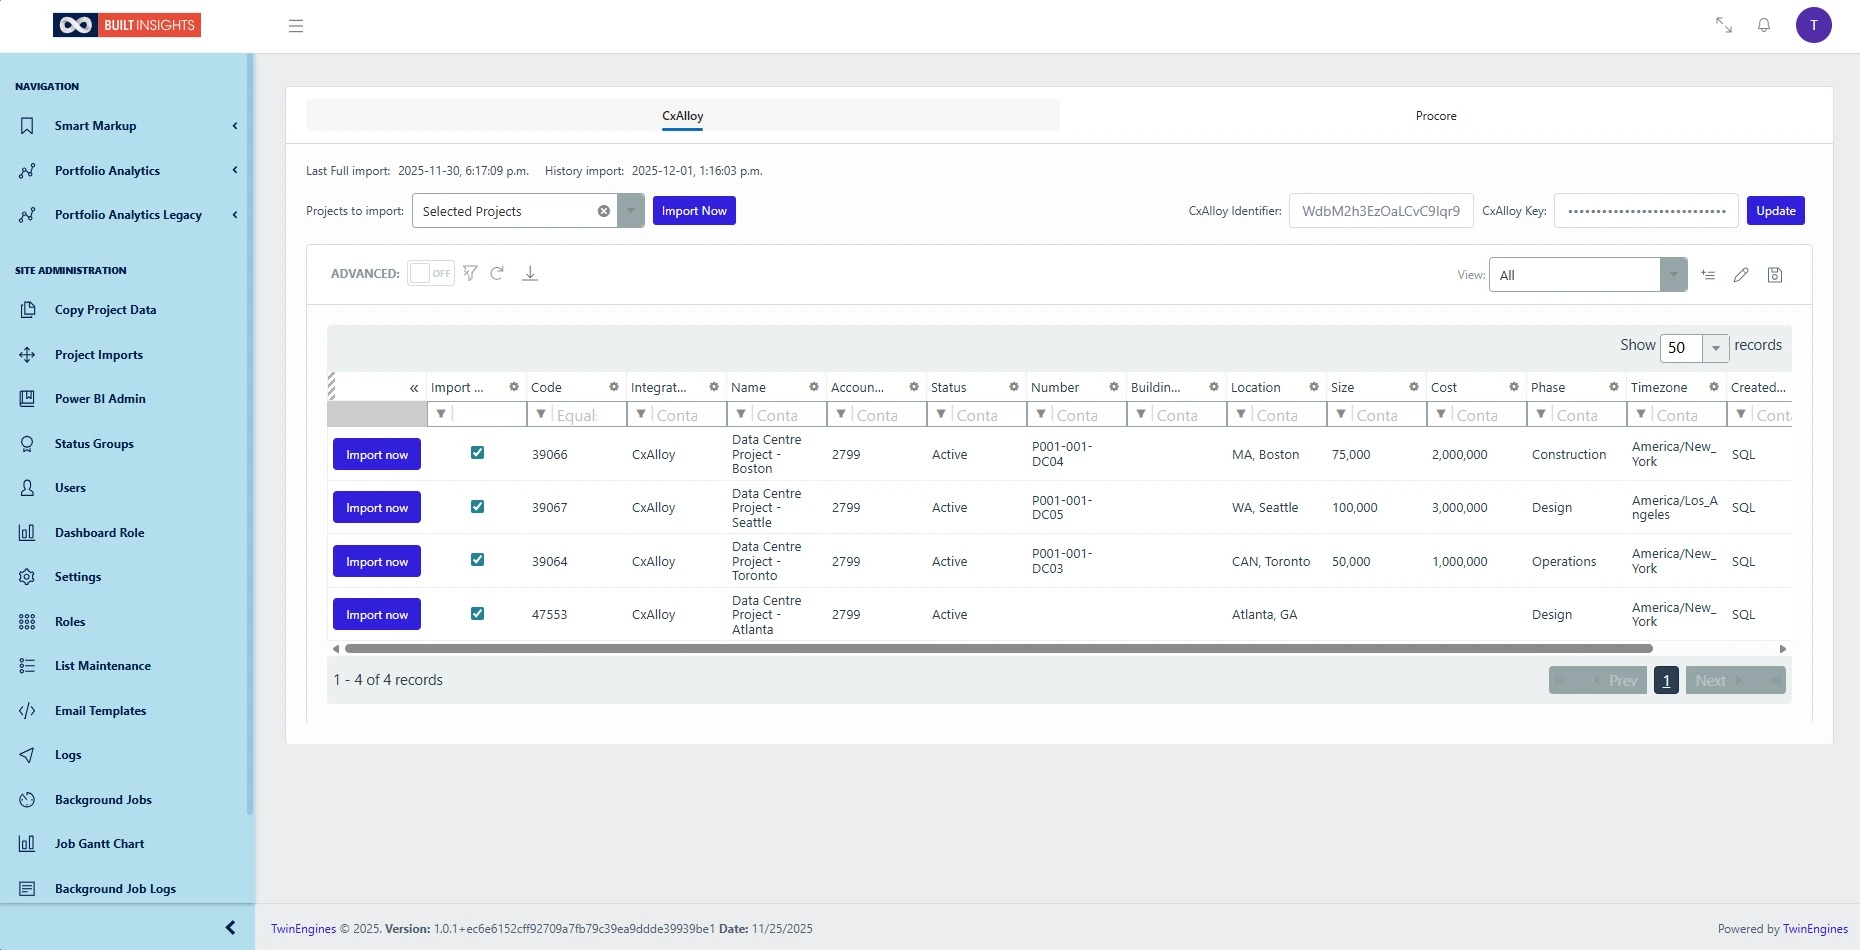
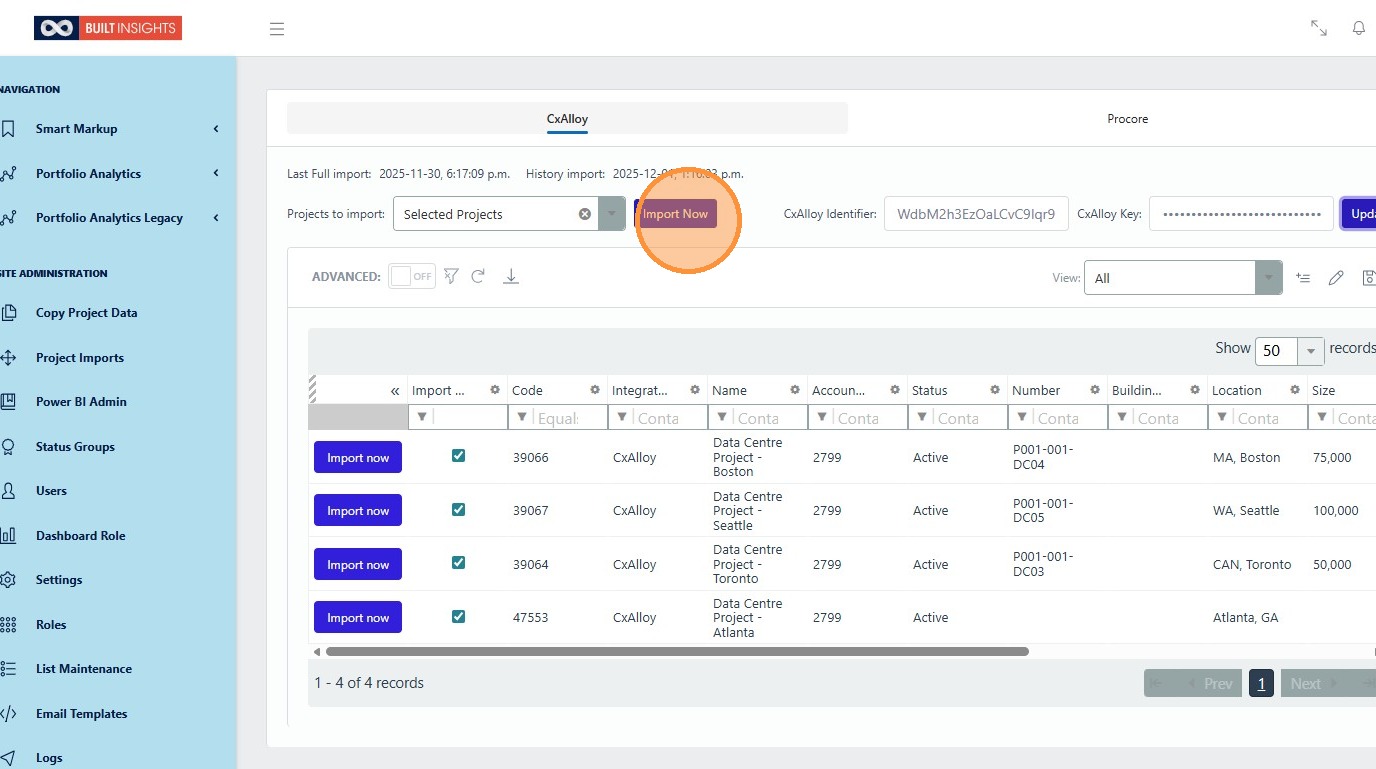
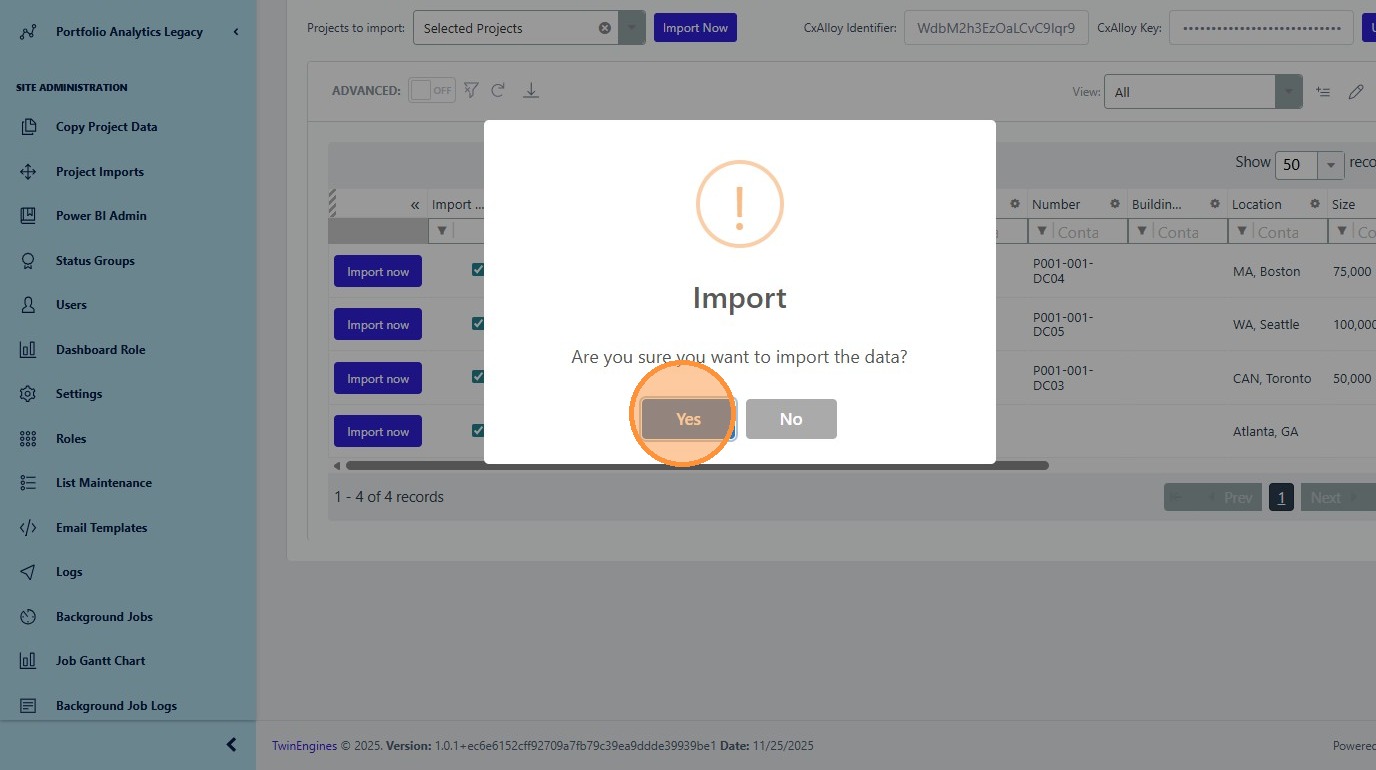
7. The API import will automatically start importing data but if changes are made and the user needs to import the data again they can complete this by clicking “Import Now” and the entire set of project data for the option selected will import.
8. The Built Insights software will promote the user for a confirmation that they want to import the CxAlloy data. From here the user will click “Yes”
9. The import of data is now complete.