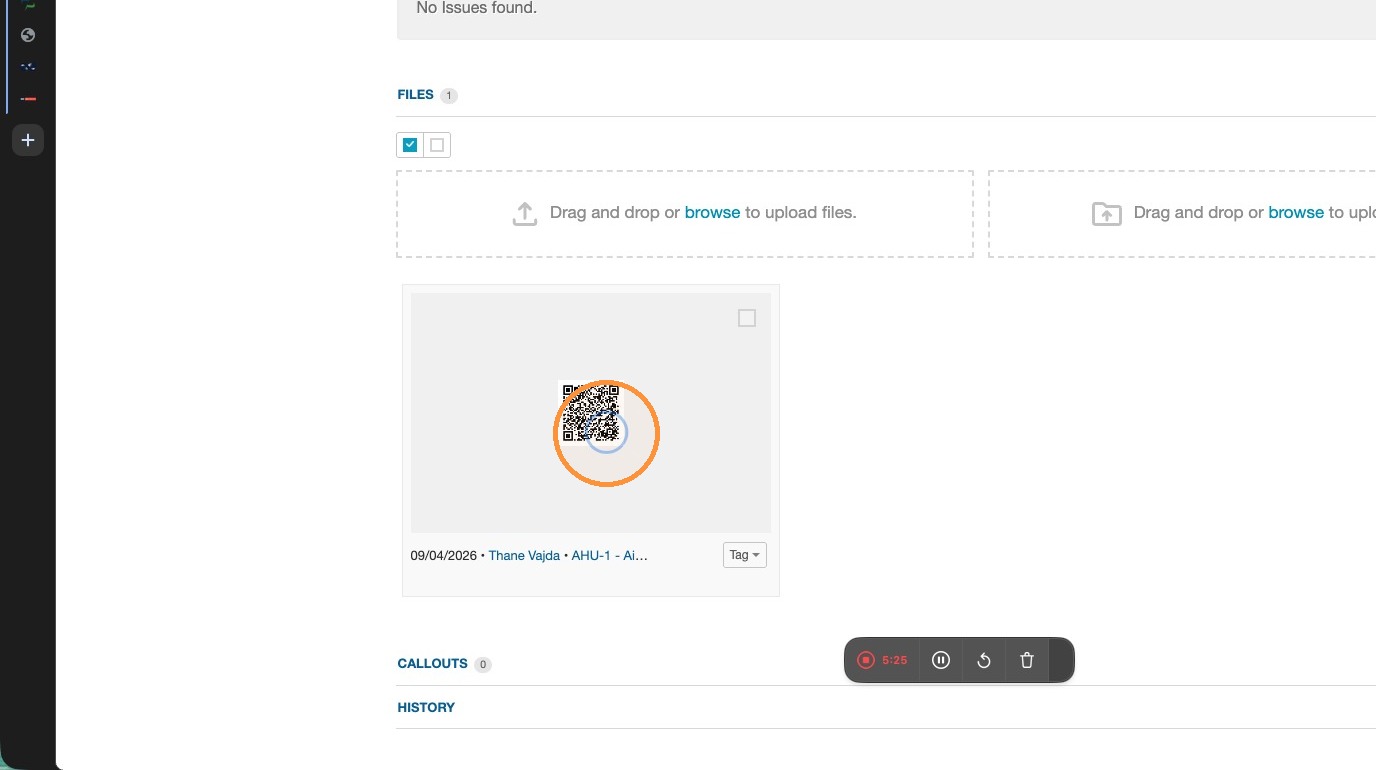
This guide shows how to export QR codes for project equipment, match them to equipment IDs, and embed those QR images into the corresponding equipment checklists so mobile users can scan for verification. Follow the steps to locate assets, export QR codes to Excel, find the correct QR image using the Equipment ID, save the image, and upload it into the equipment’s checklist and files. It streamlines QR-based asset identification and mobile verification.
Checklist Setup
1. Open your CxAlloy project and click Assets
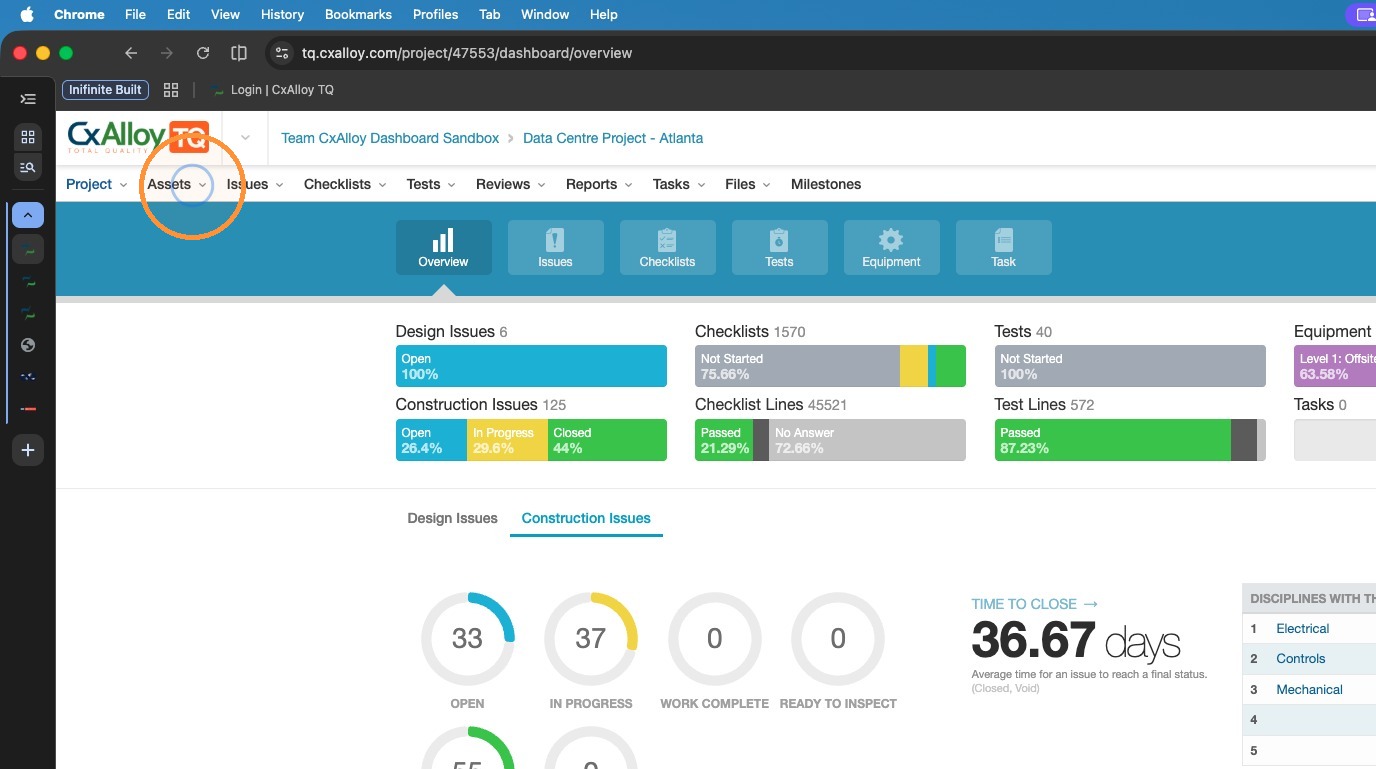
2. Open the Assets menu to review the list of equipment on the Project
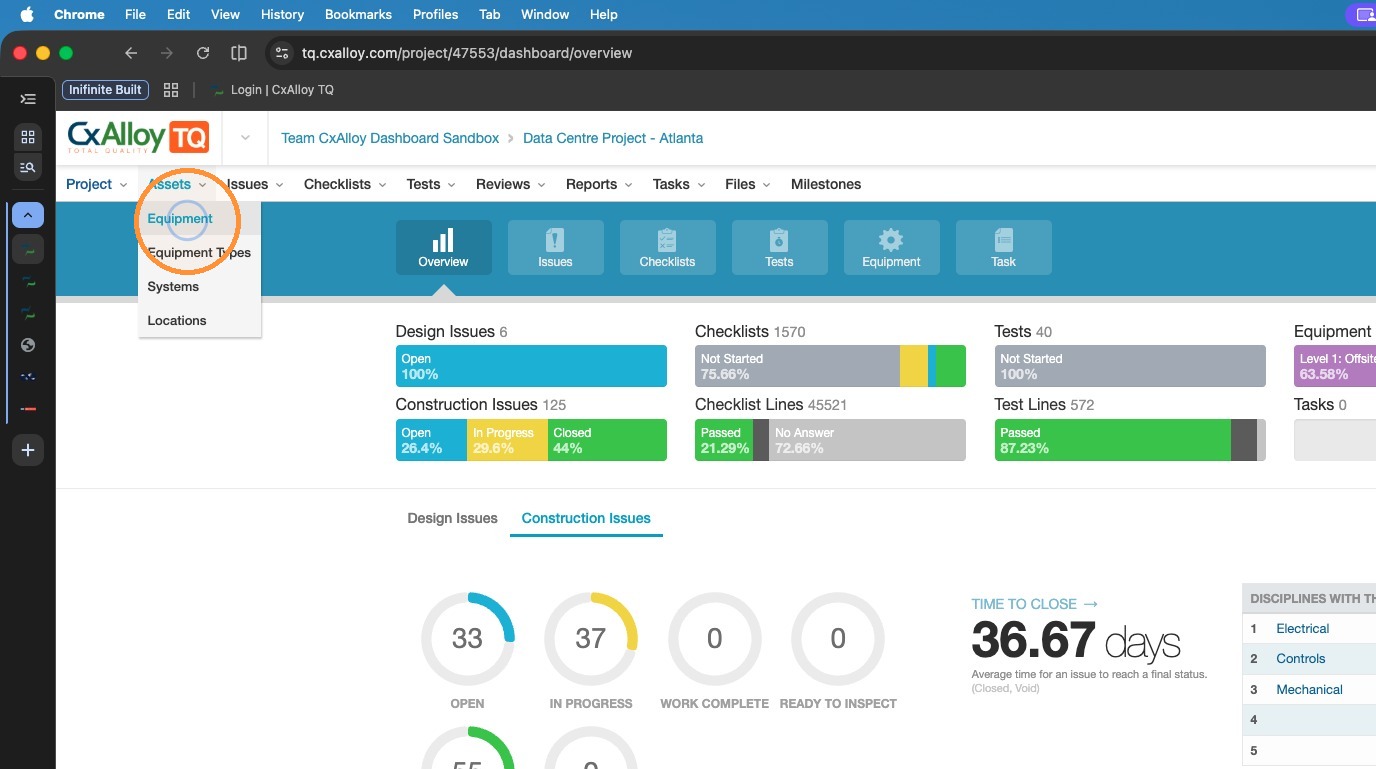
3. Click Checklists once the equipment has been identified to find associated checklist
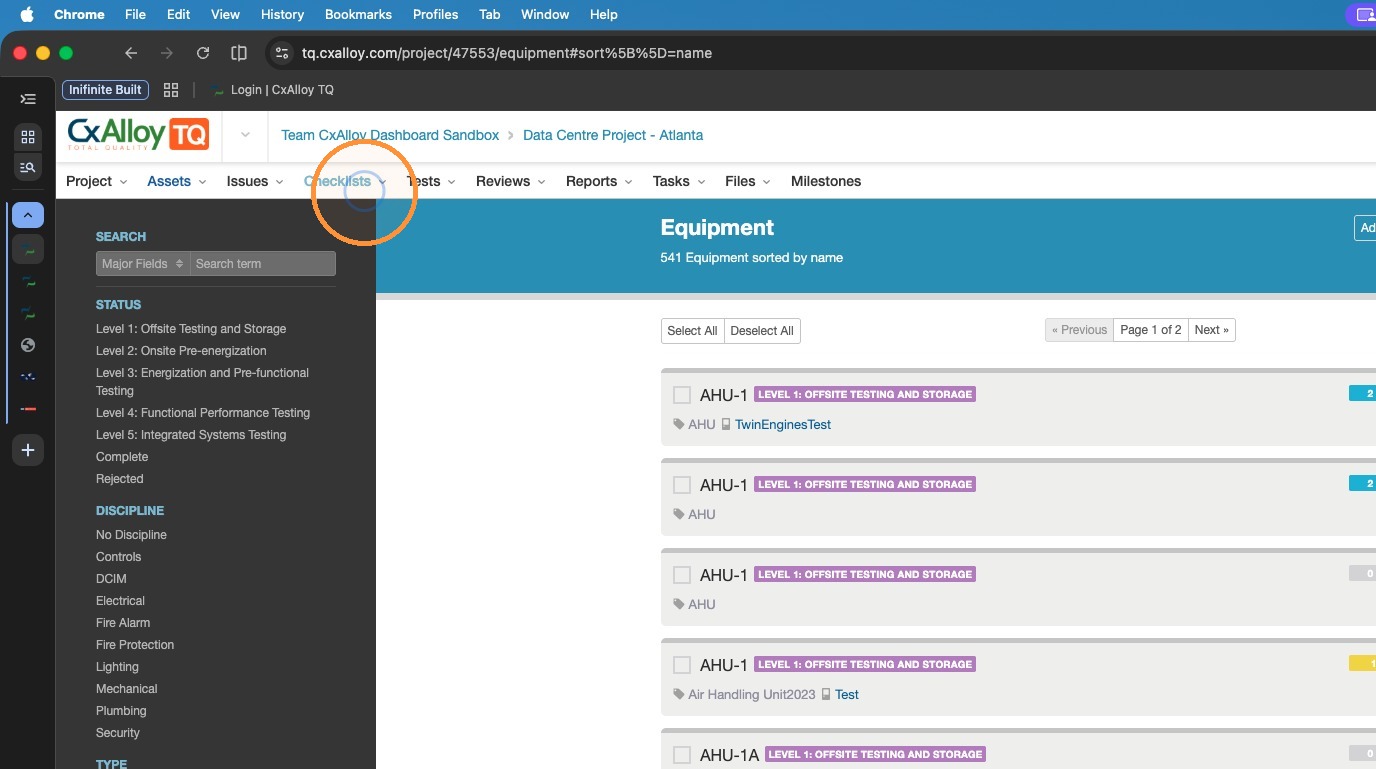
4. Open the Checklists menu
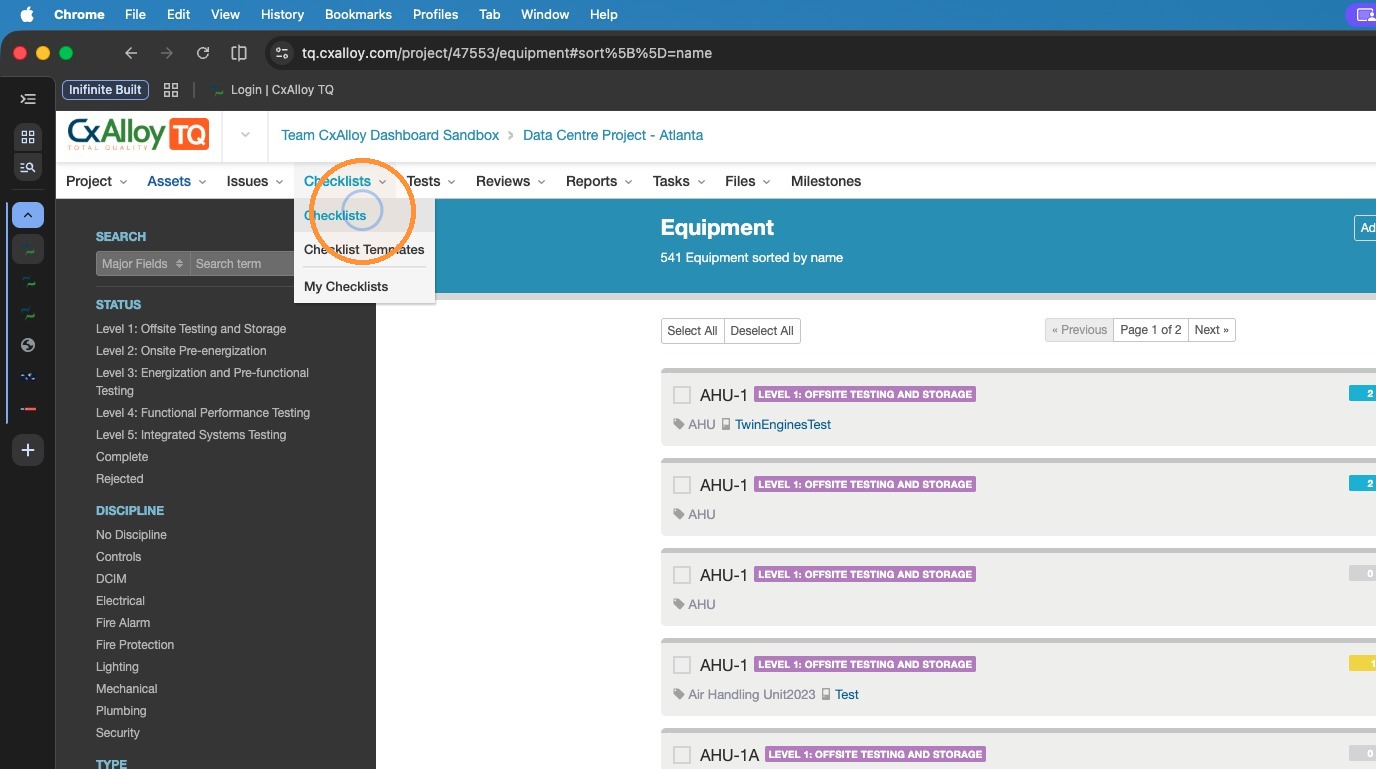
5. Select the required checklist and review for content
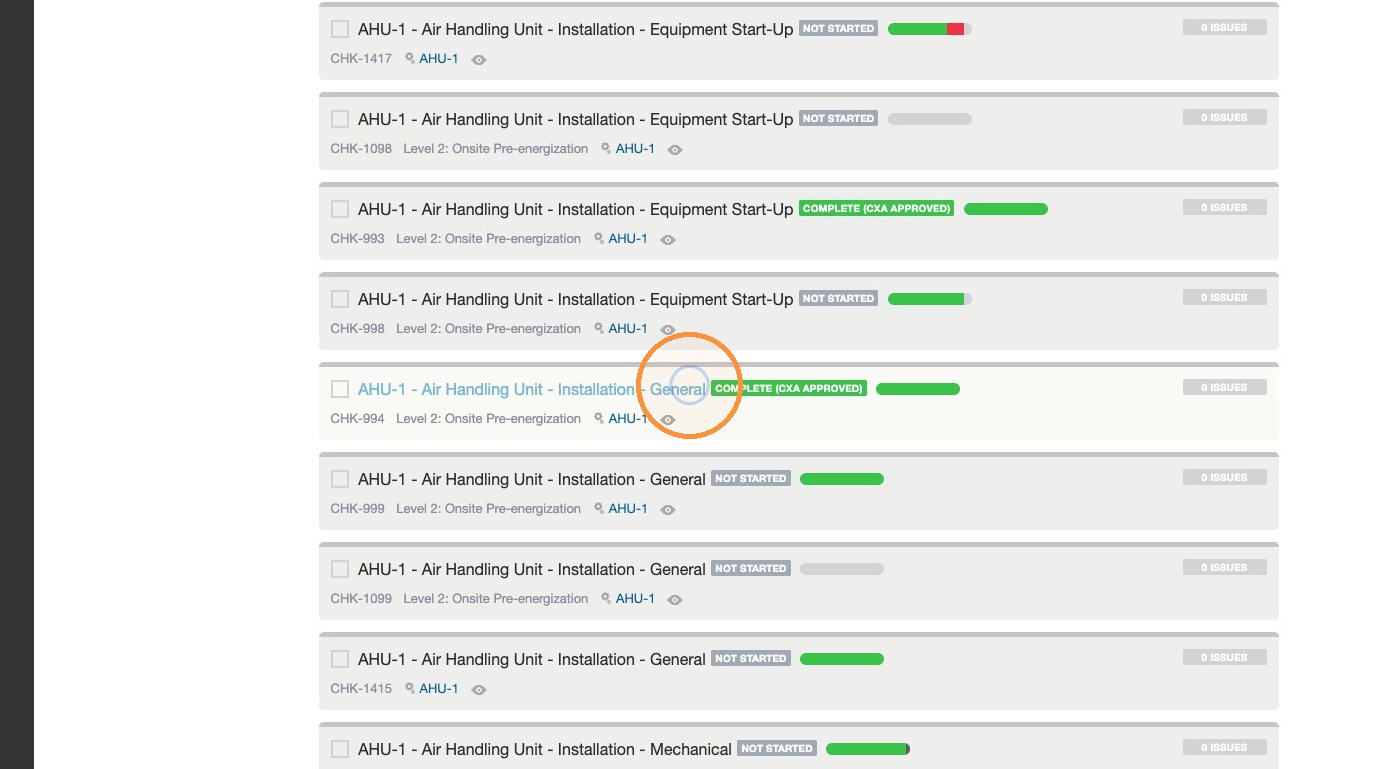
6. Click Edit Lines
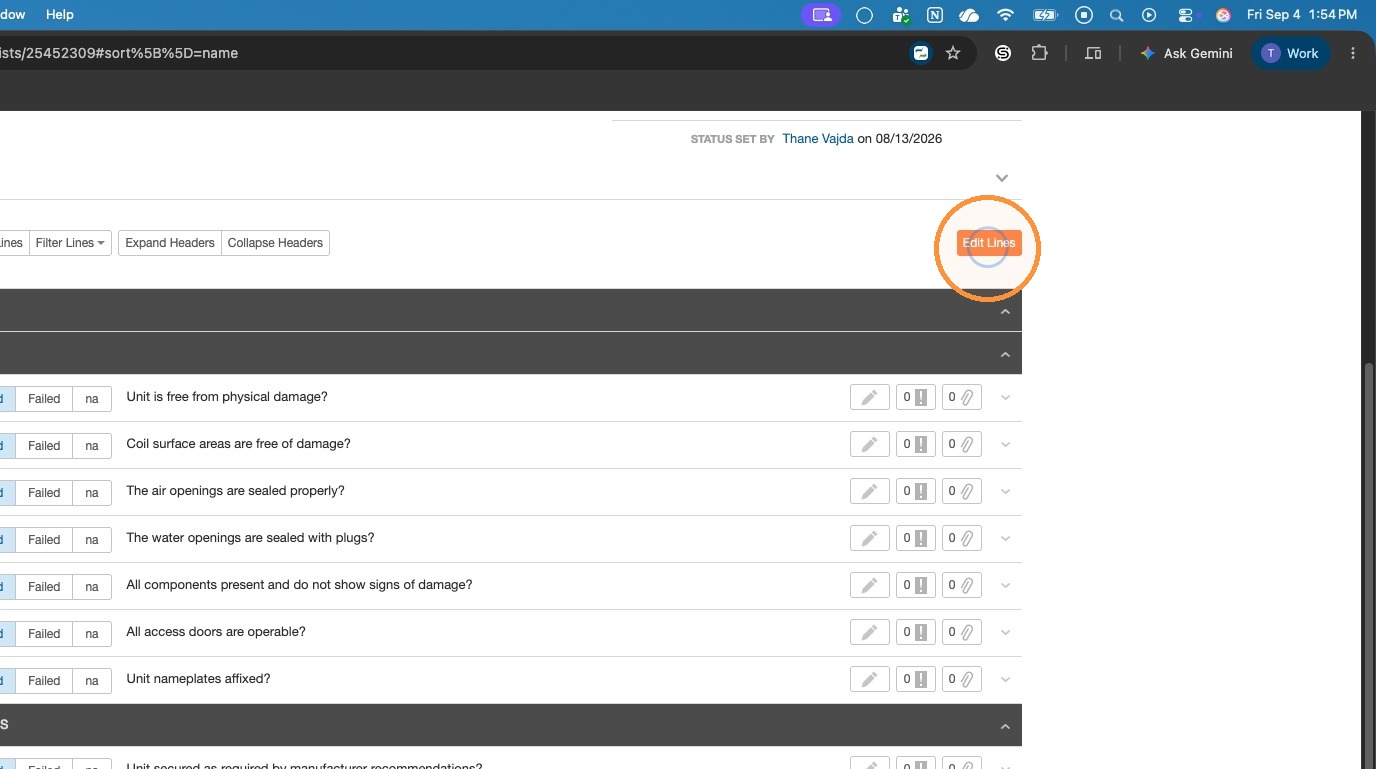
7. Click Add a Line
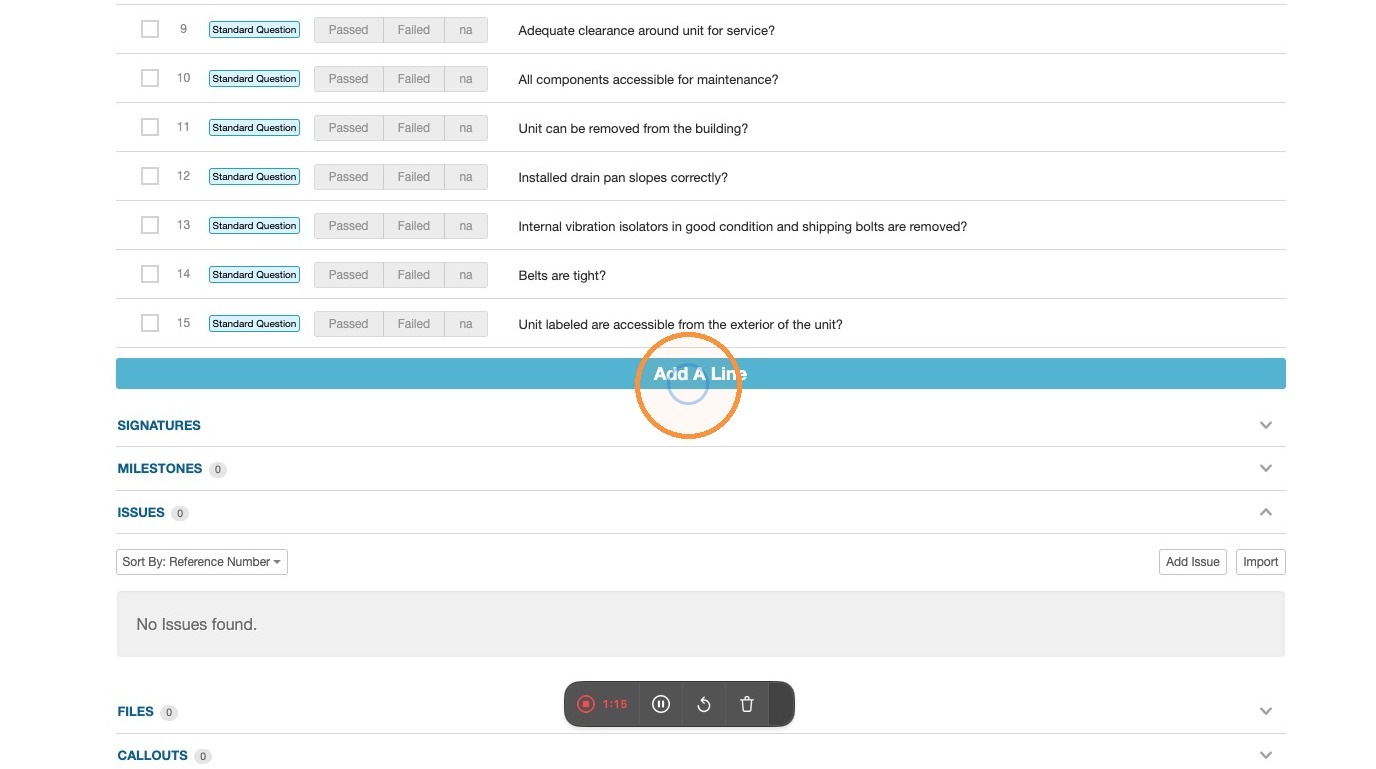
8. Open the question type menu
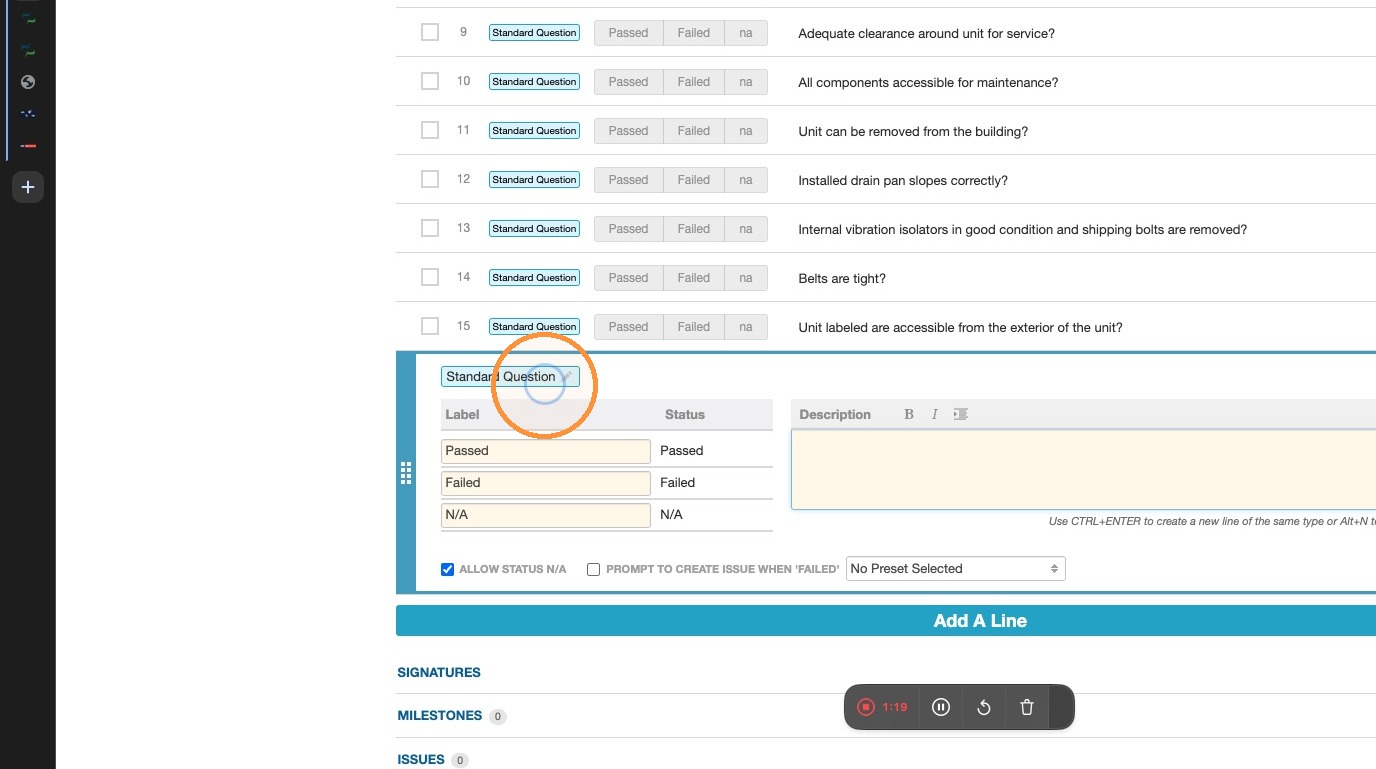
9. Select File and enter the description "Upload QR Code"
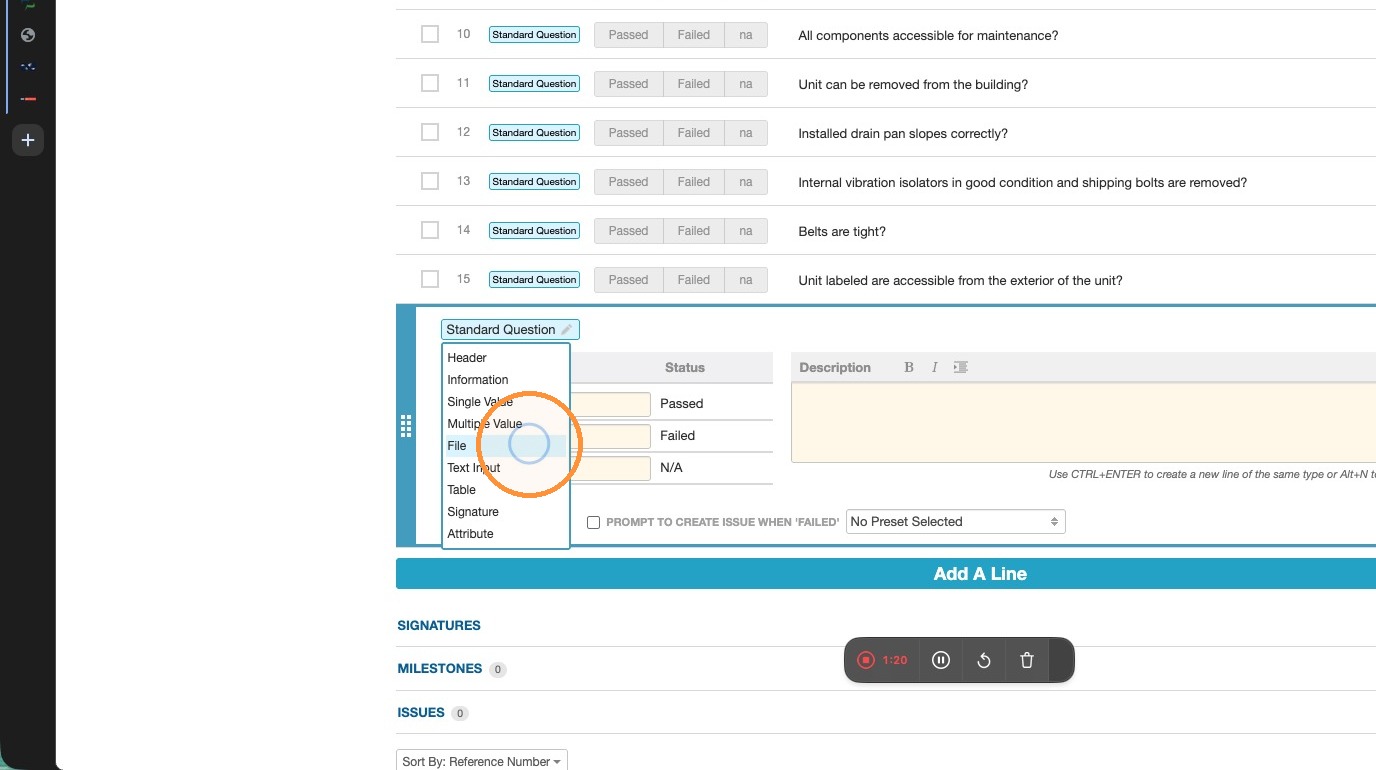
10. Save the new file-upload line
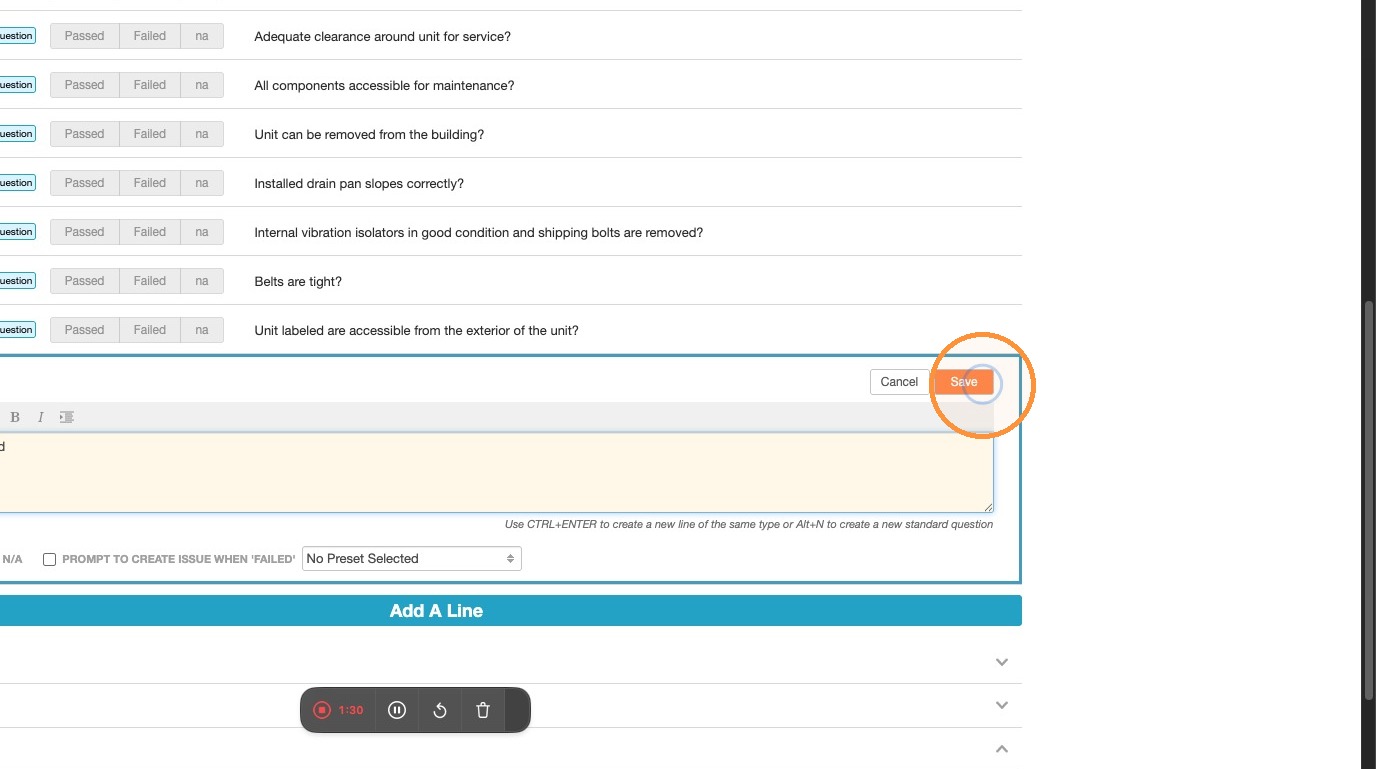
11. Click Done
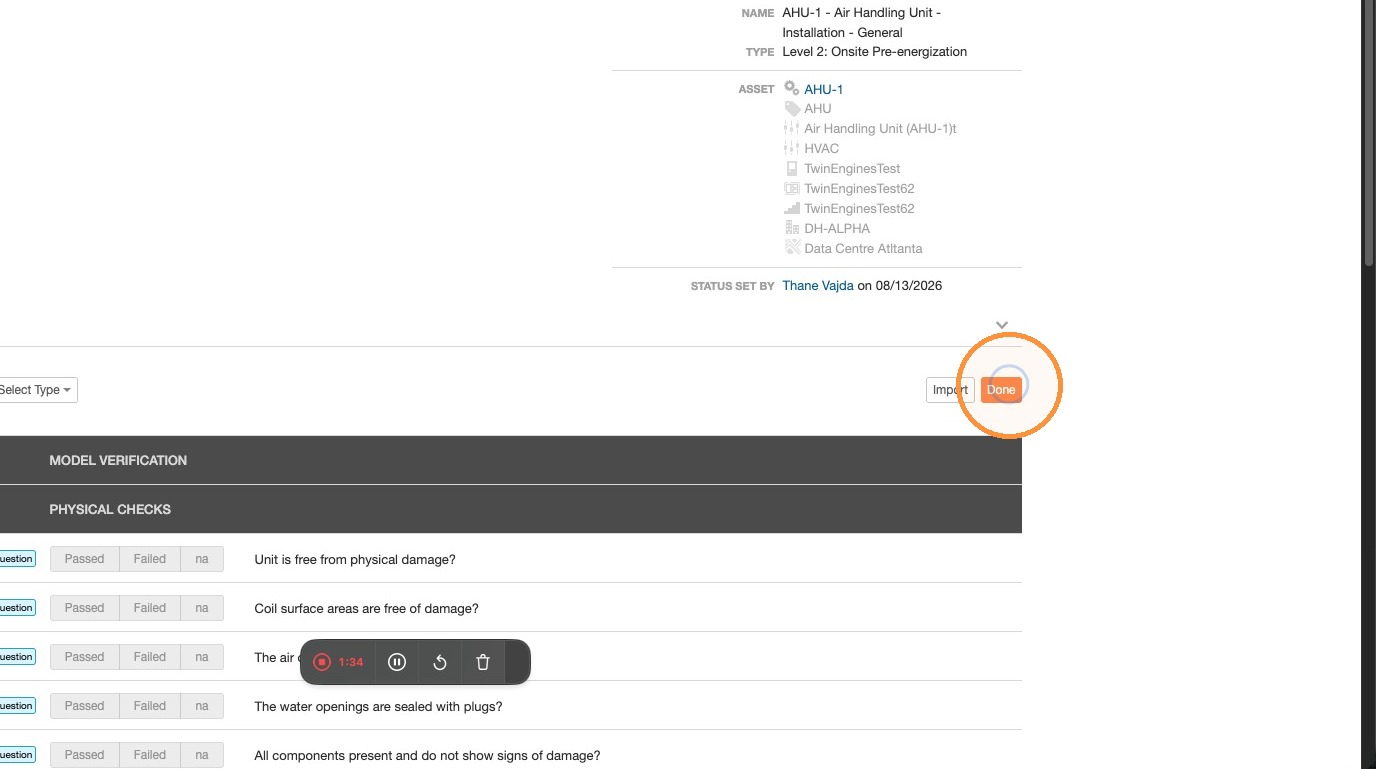
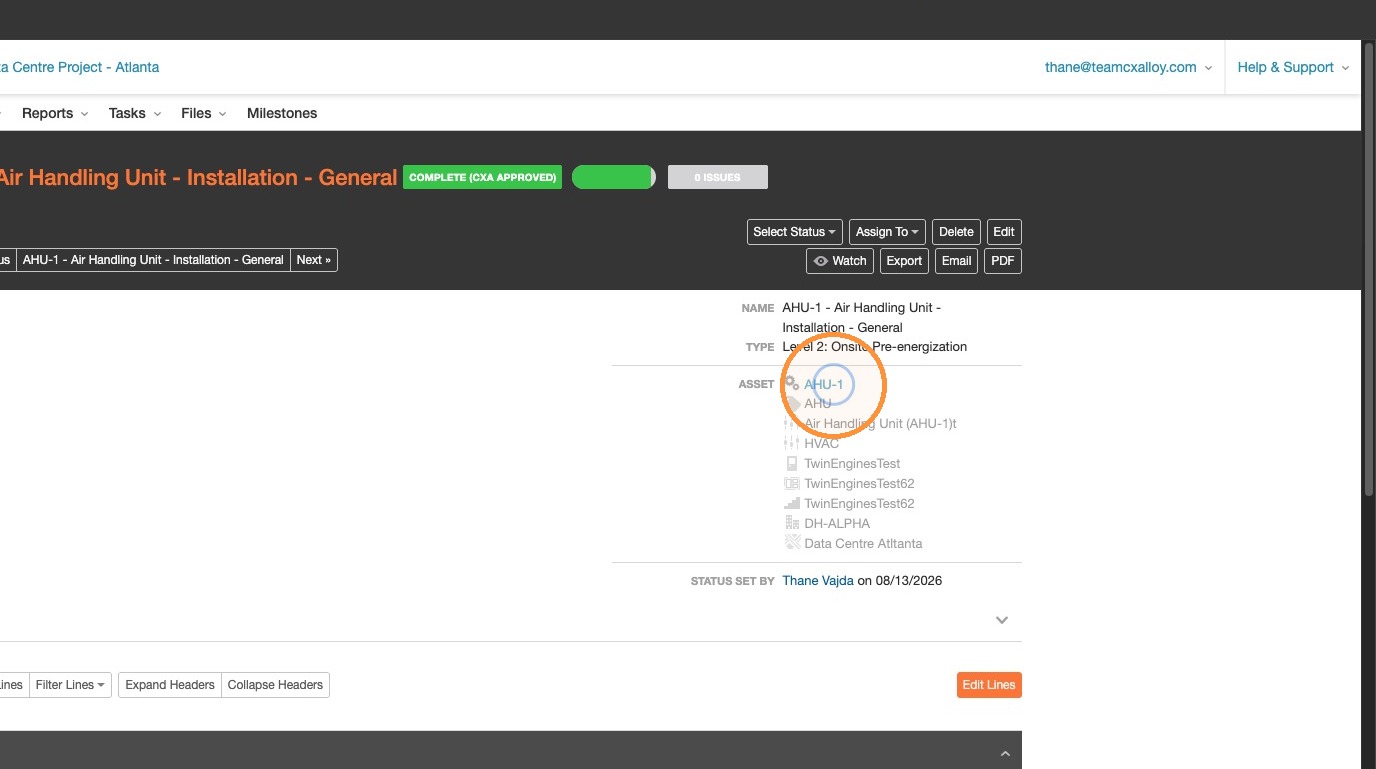
12. Open the asset link
QR Code Export
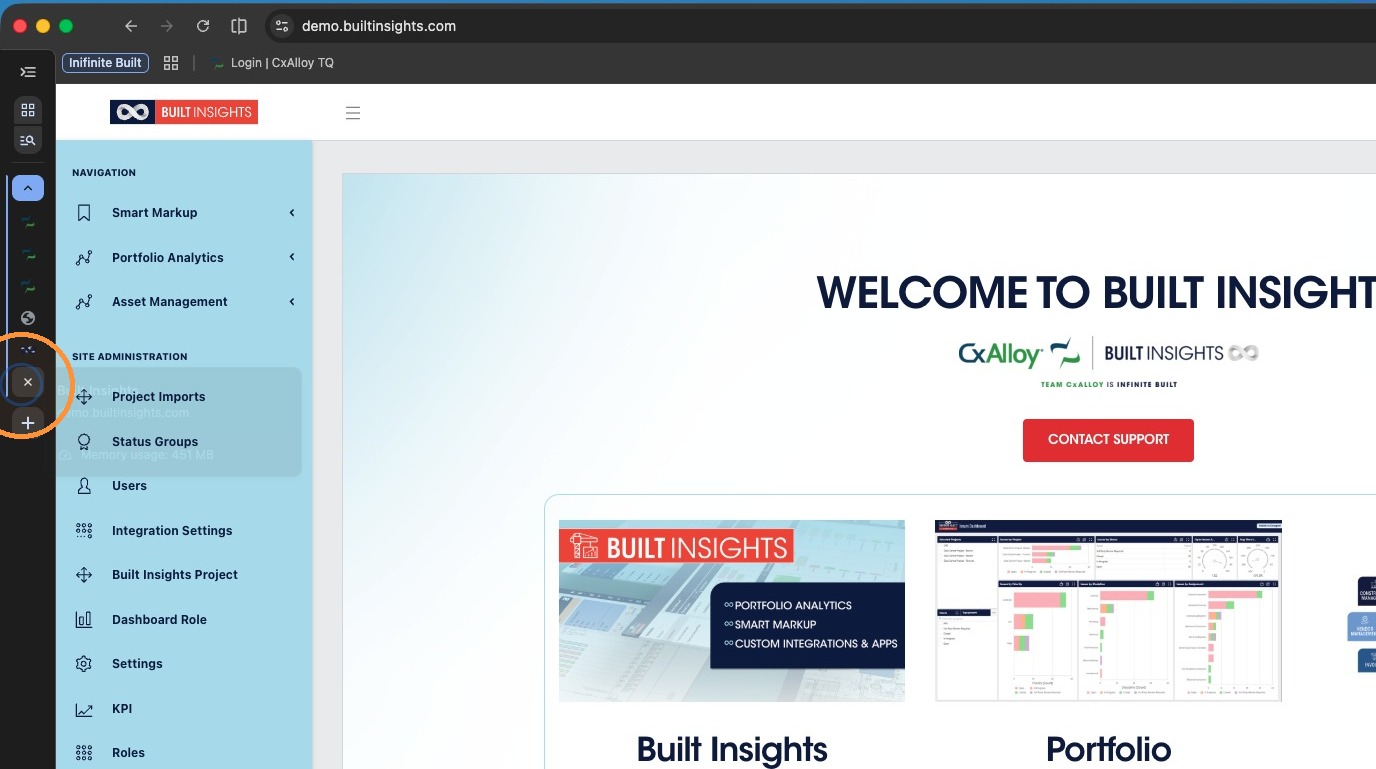
13. Open the Assets page in Built Insights
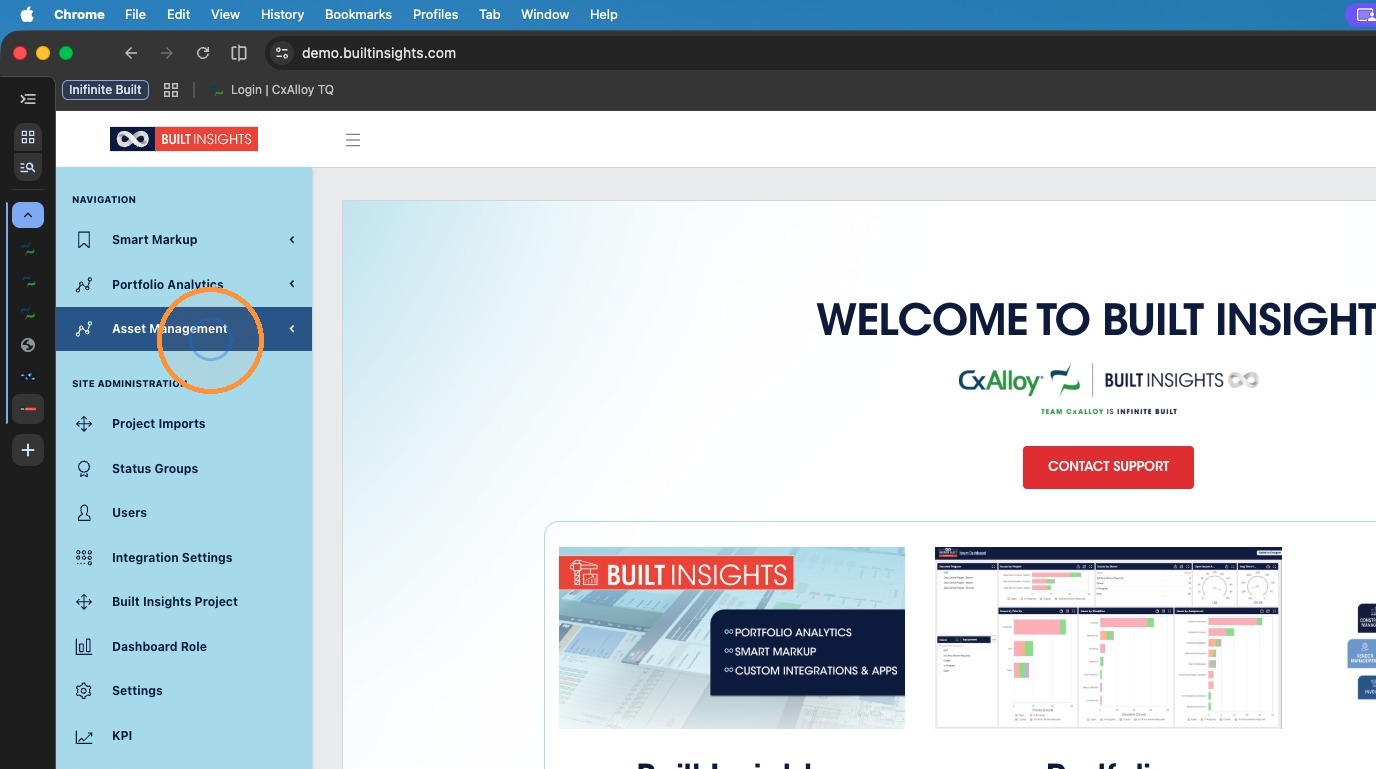
14. Expand Asset Management
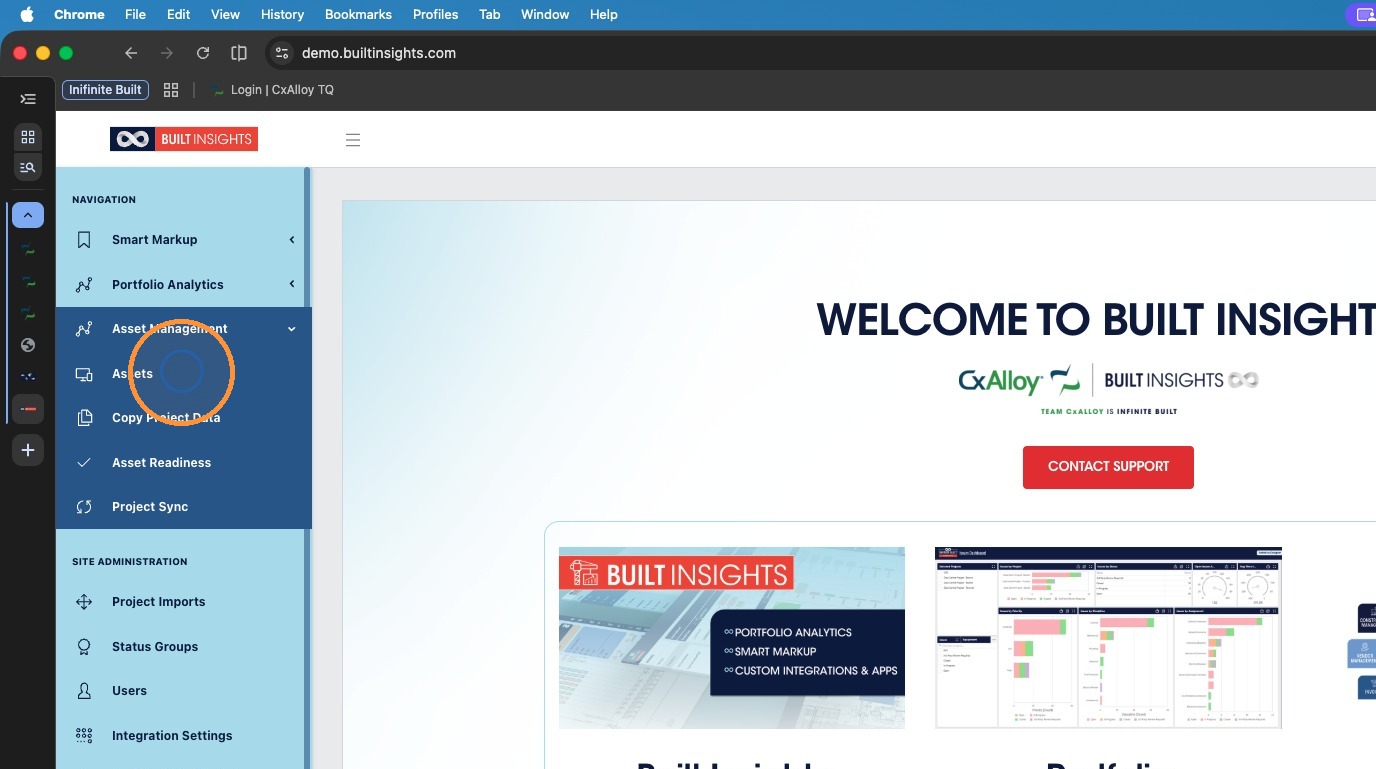
15. Click Assets
16. Open the asset list
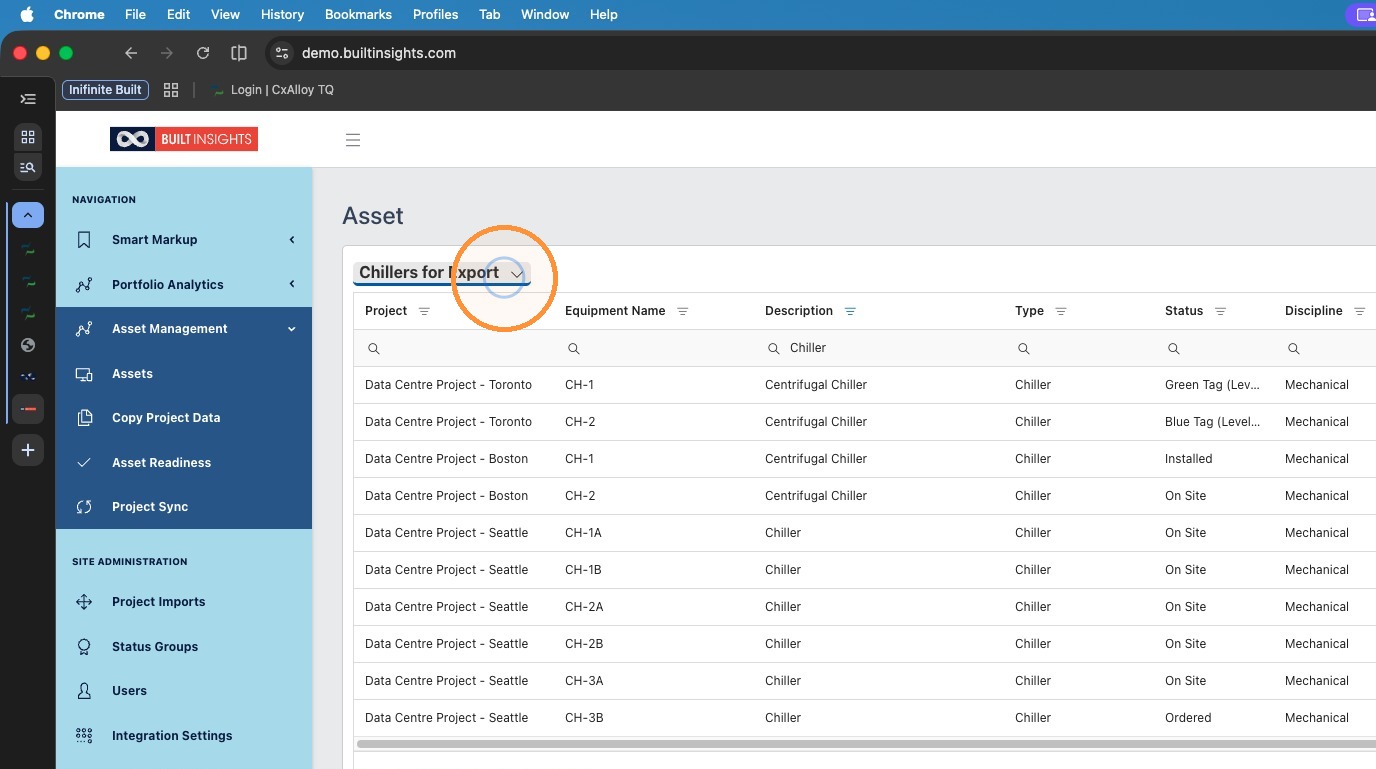
17. Open the saved view menu and search by your project name under "Project"
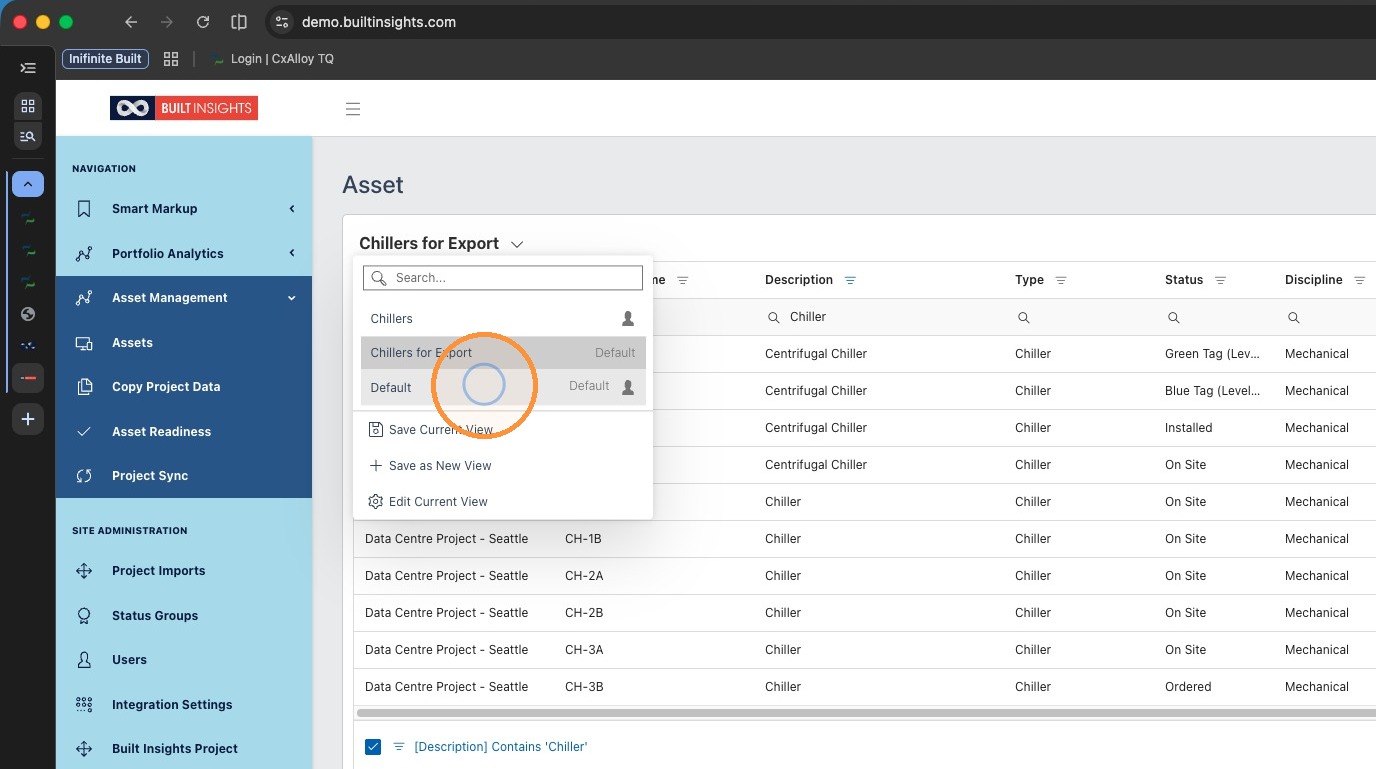
18. Export the filtered assets as QR codes
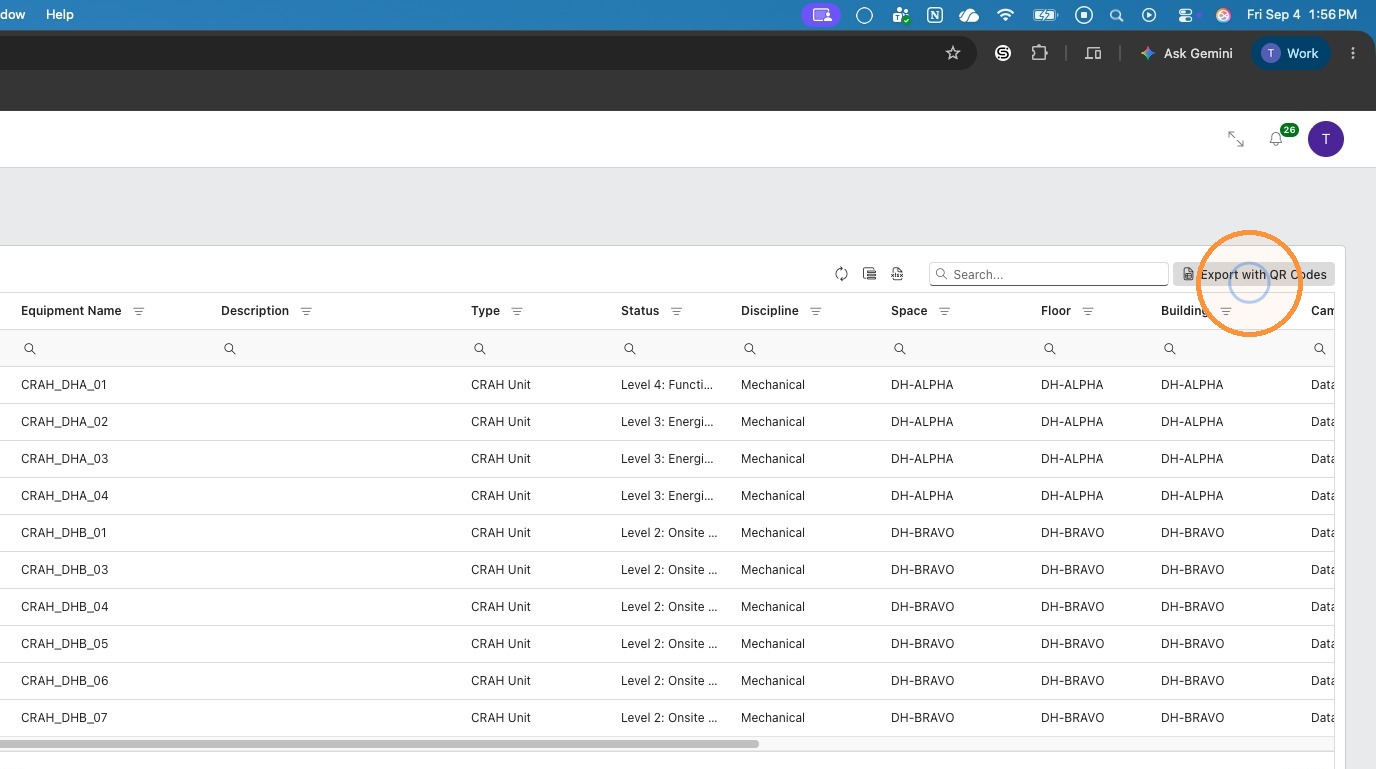
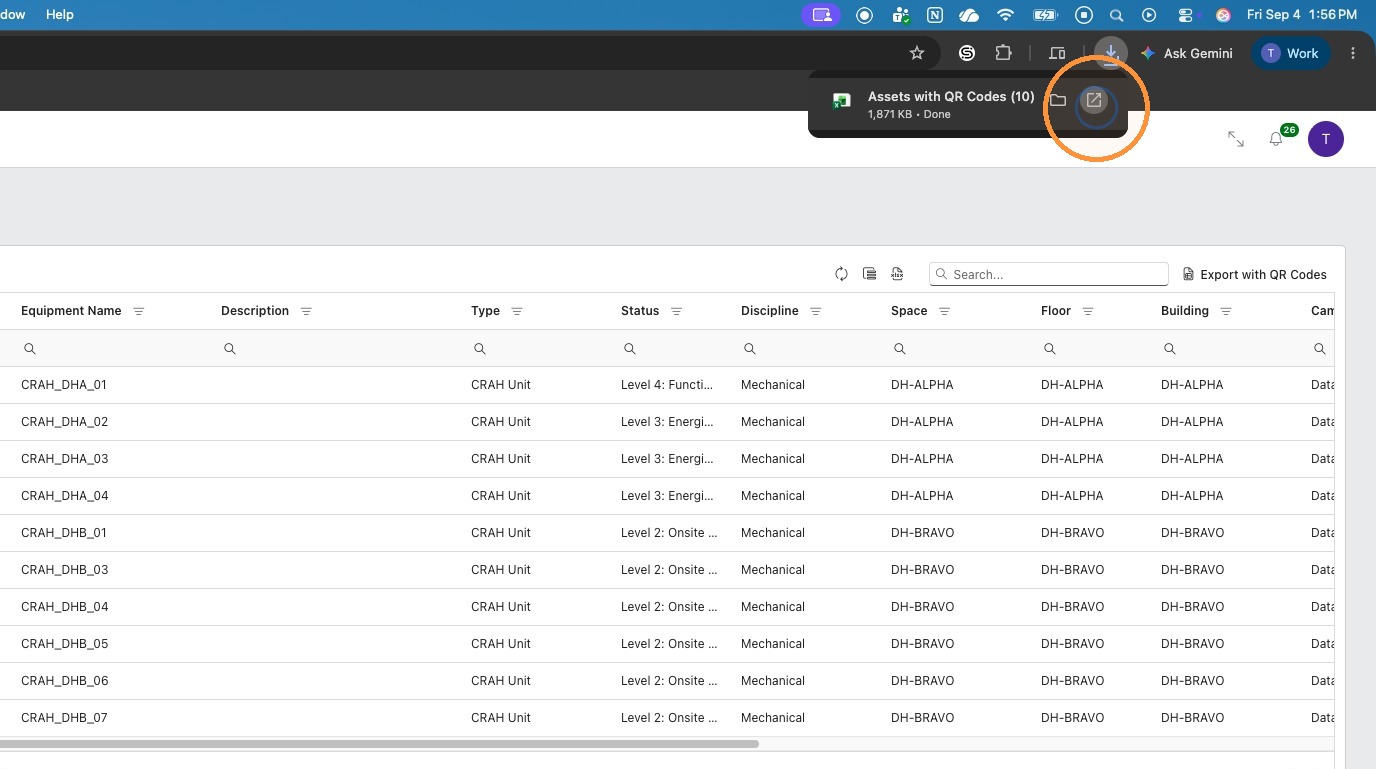
19. Open the associated Excel File
Finding the Equipment ID Value
20. Switching back to the CxAlloy project you will need to select the equipment page for the Asset you want to find
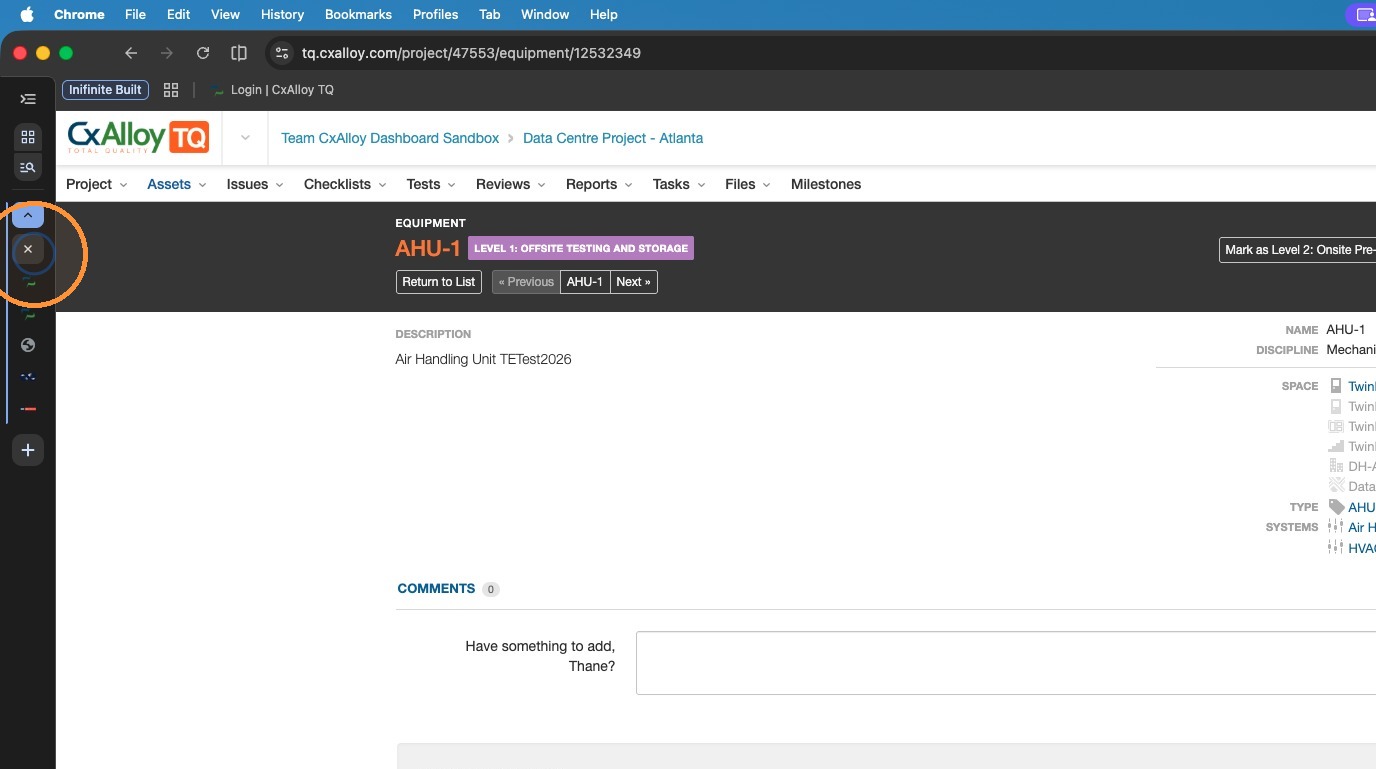
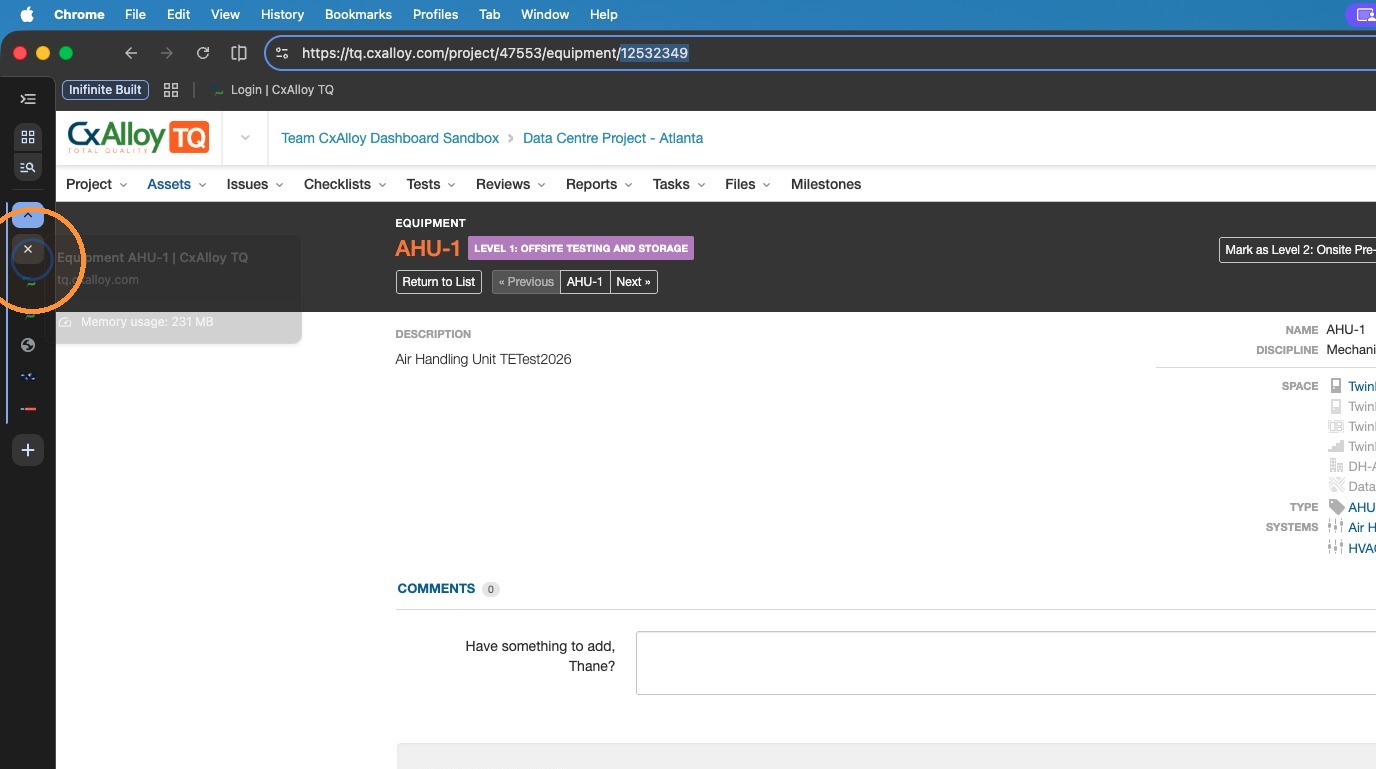
21. Click "Address and search bar"
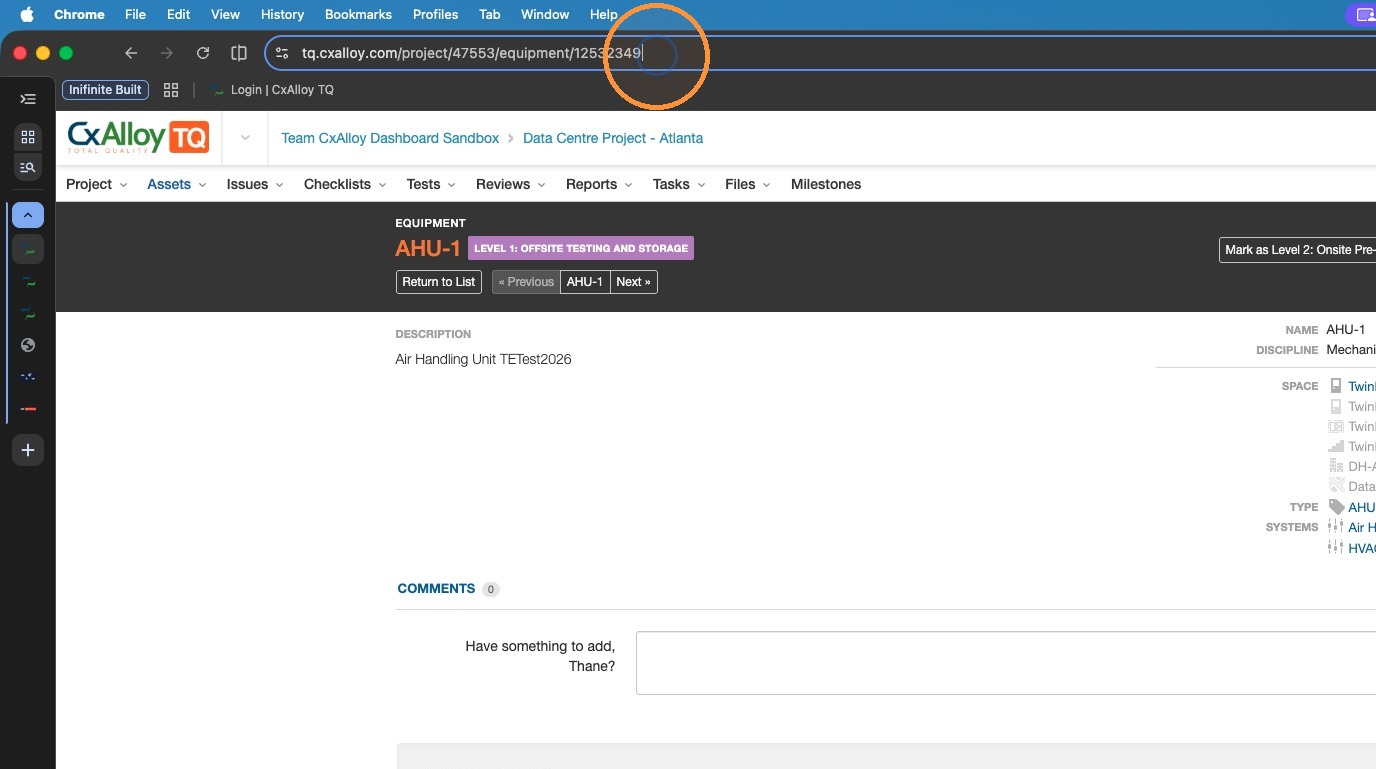
22. The final section of the URL will be the Equipment ID Value. This is the value we want to use to search for the equipment in the Excel file
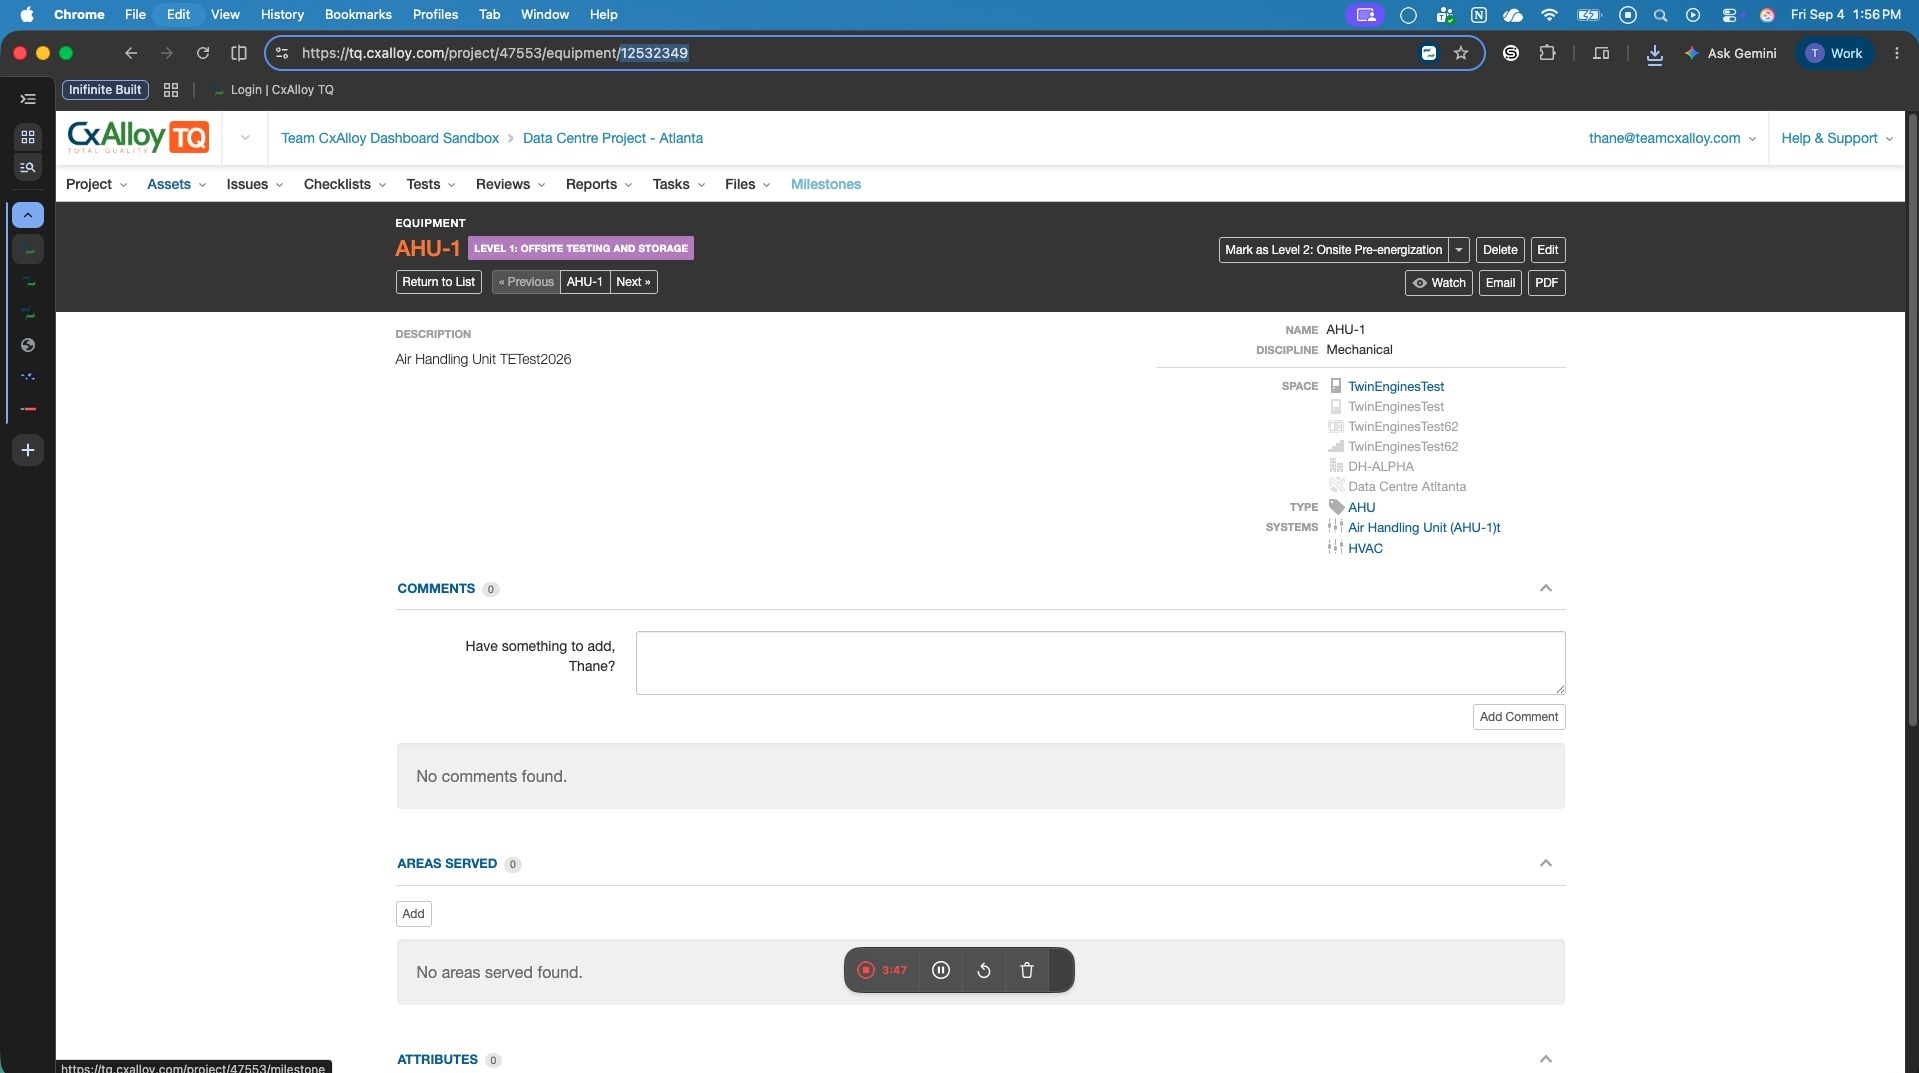
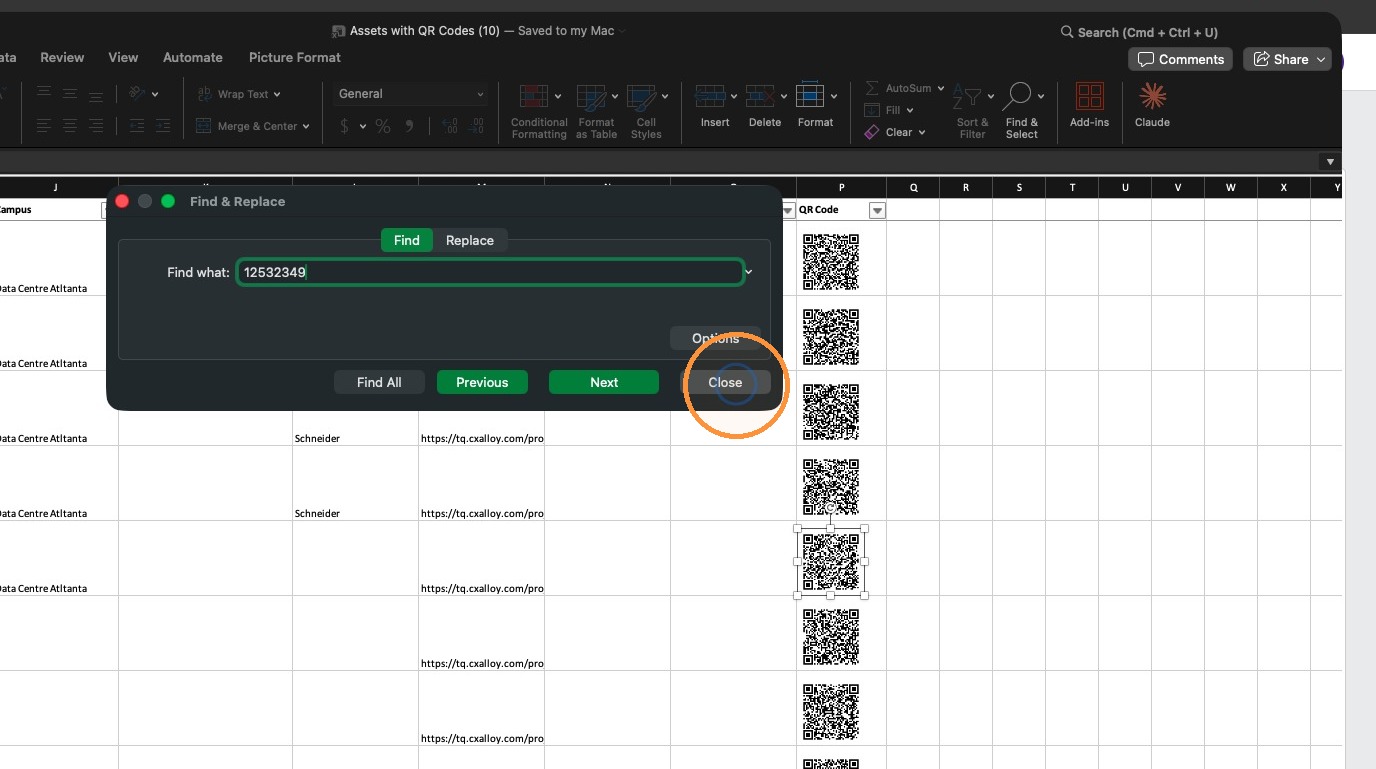
23. With the Equipment ID captured return to your QR Code Excel file and open the Find and Select option and choose Find...
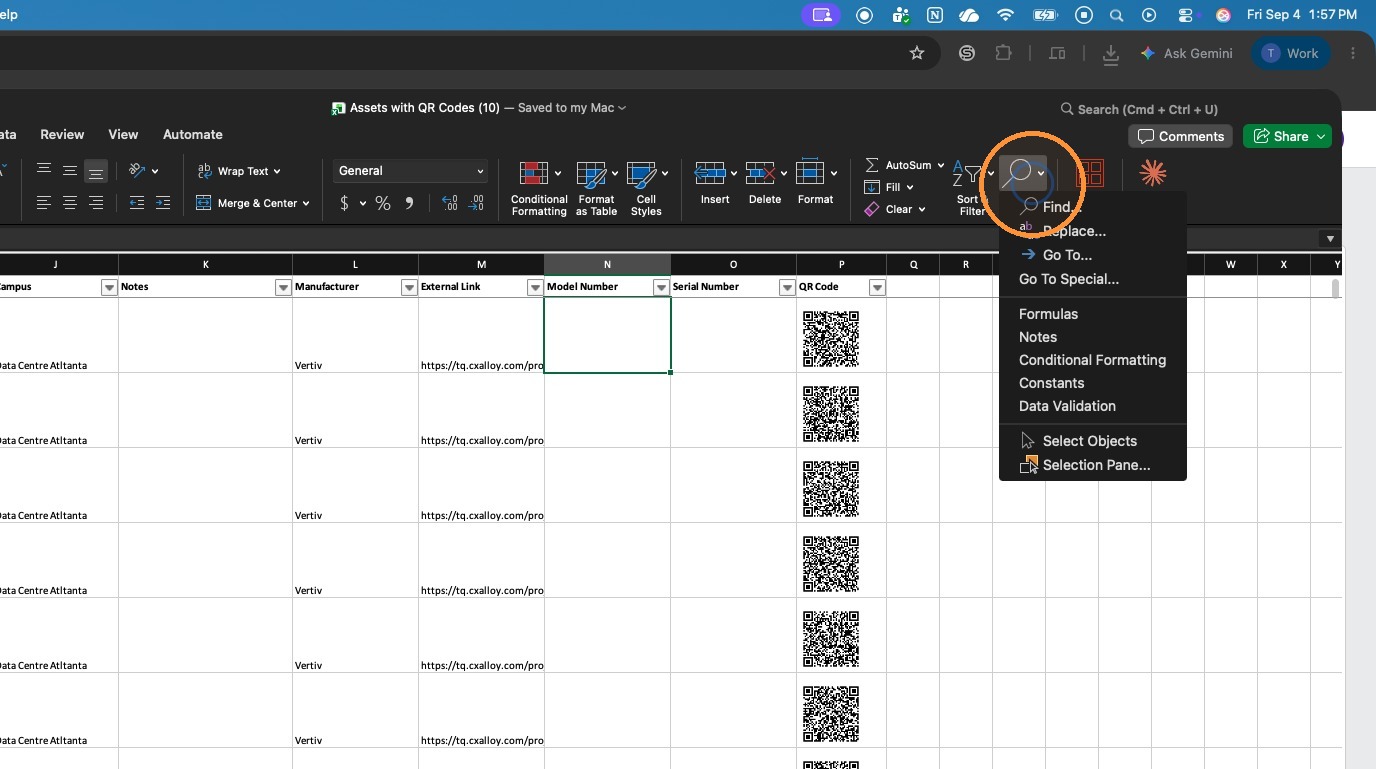
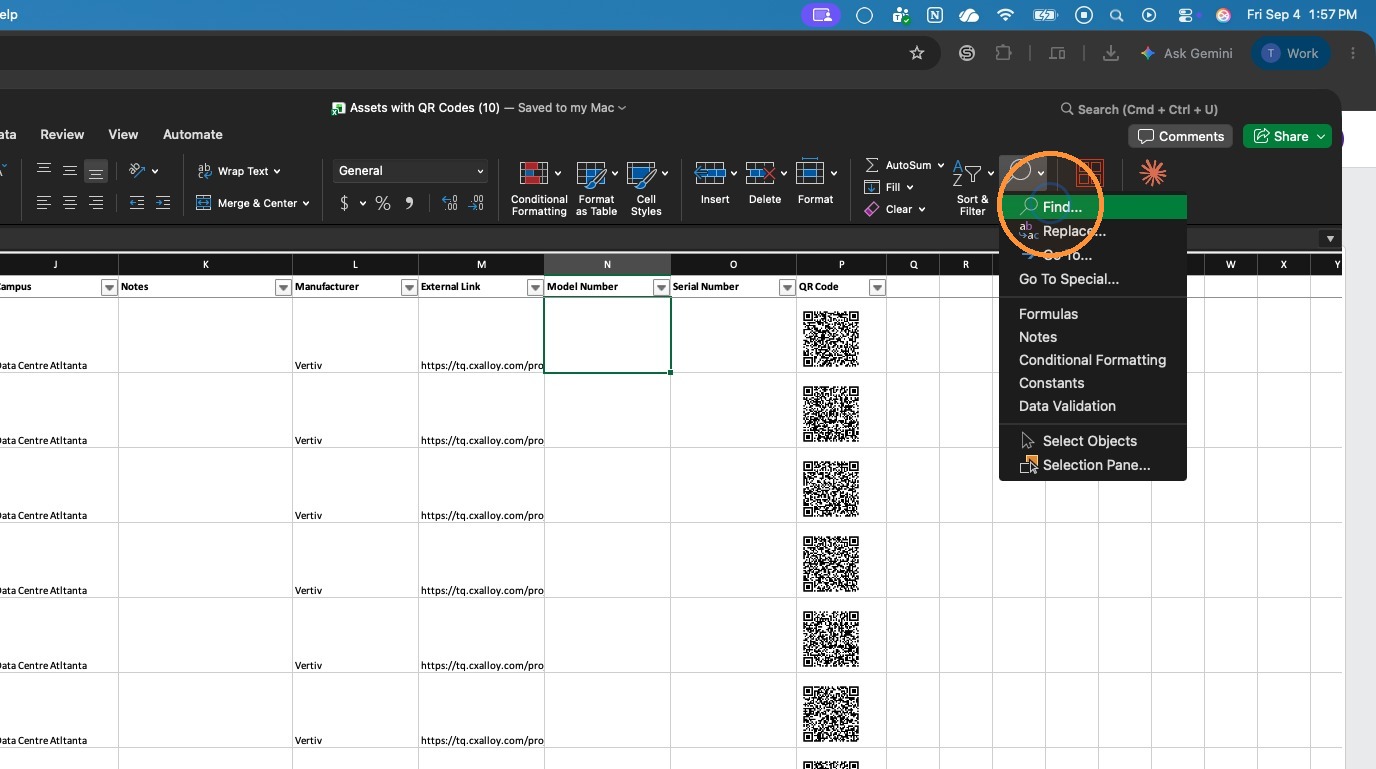
24. Input the Equipment ID value from CxAlloy
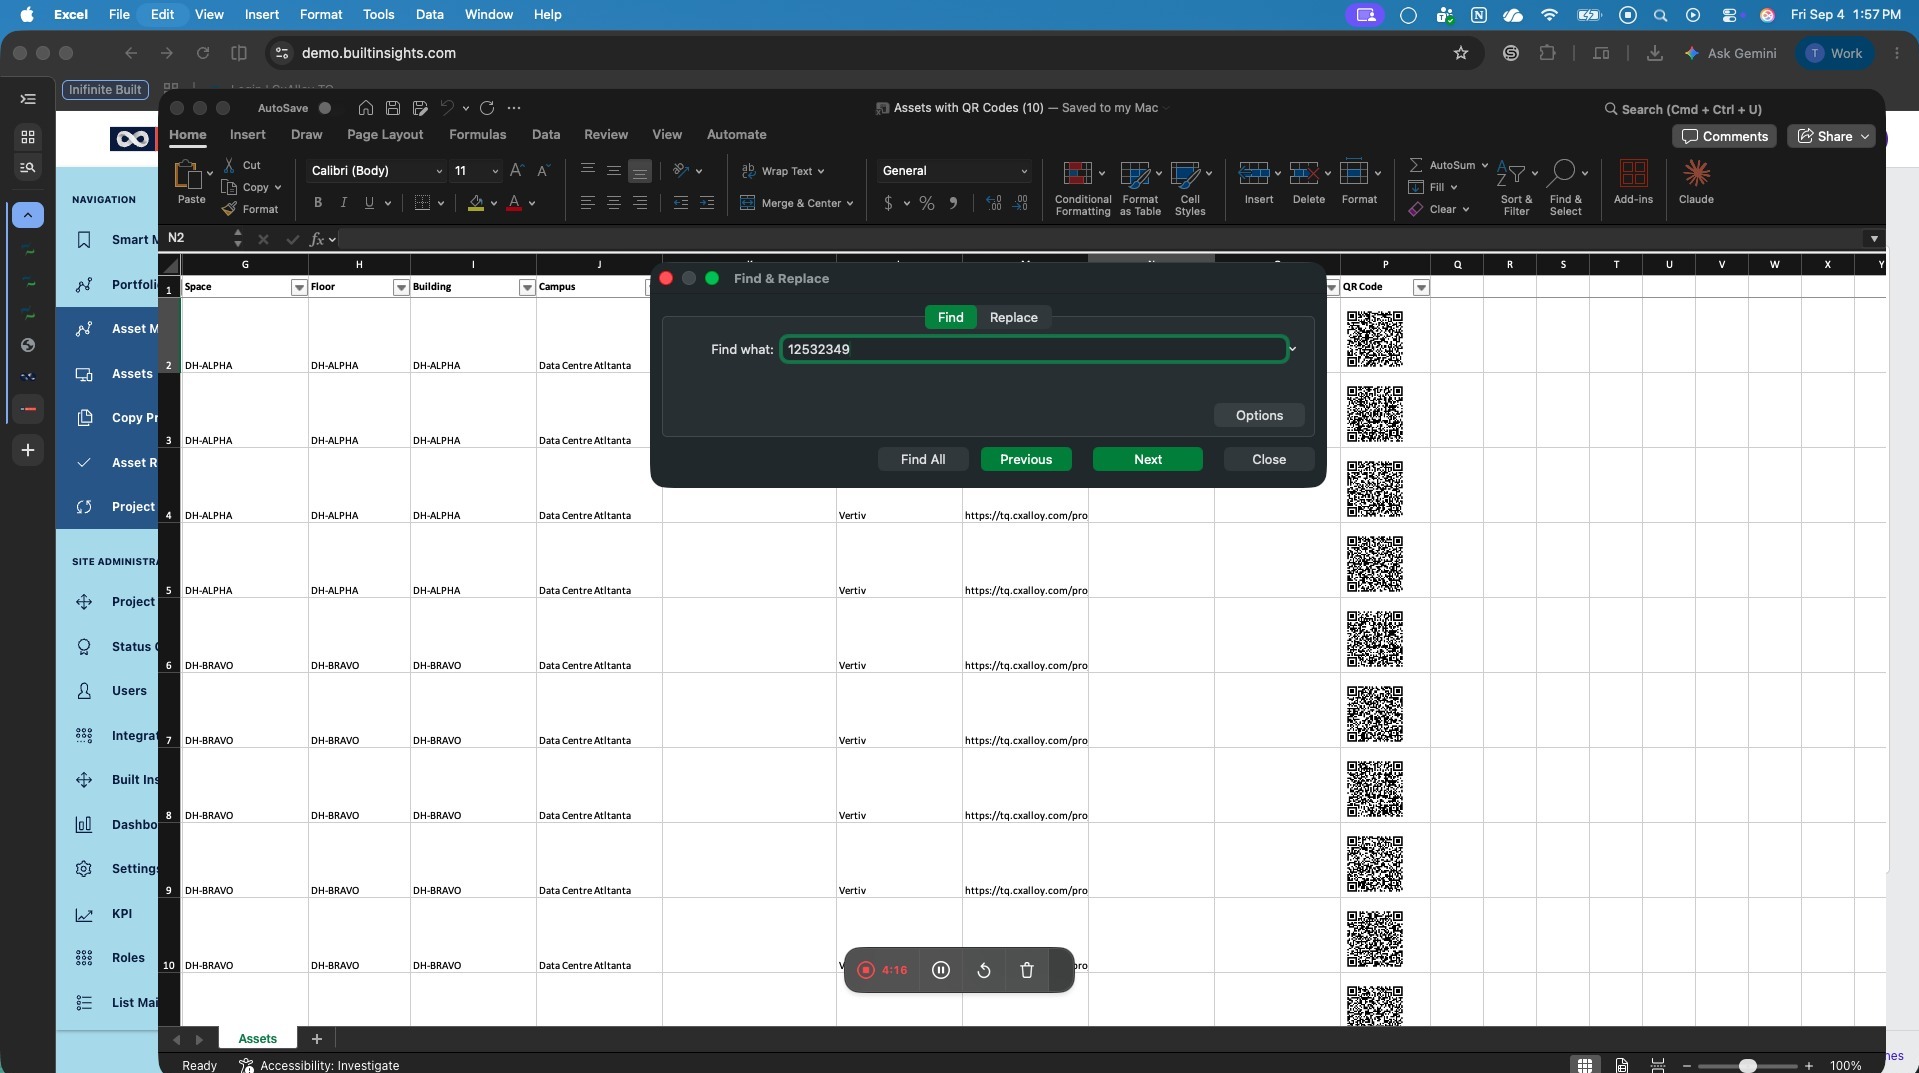
25. Find the next matching asset URL
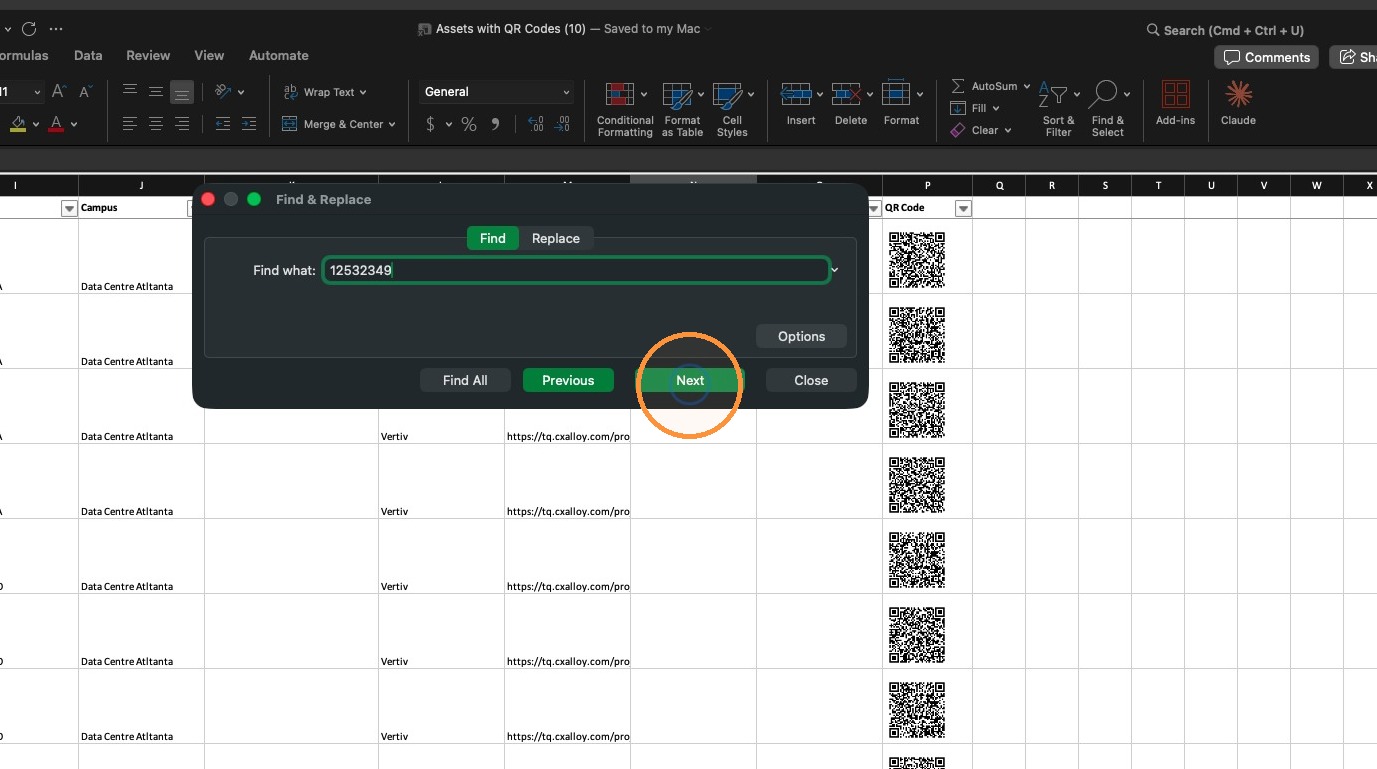
26. This will highlight the associated row to allow you to select the matching spreadsheet cell
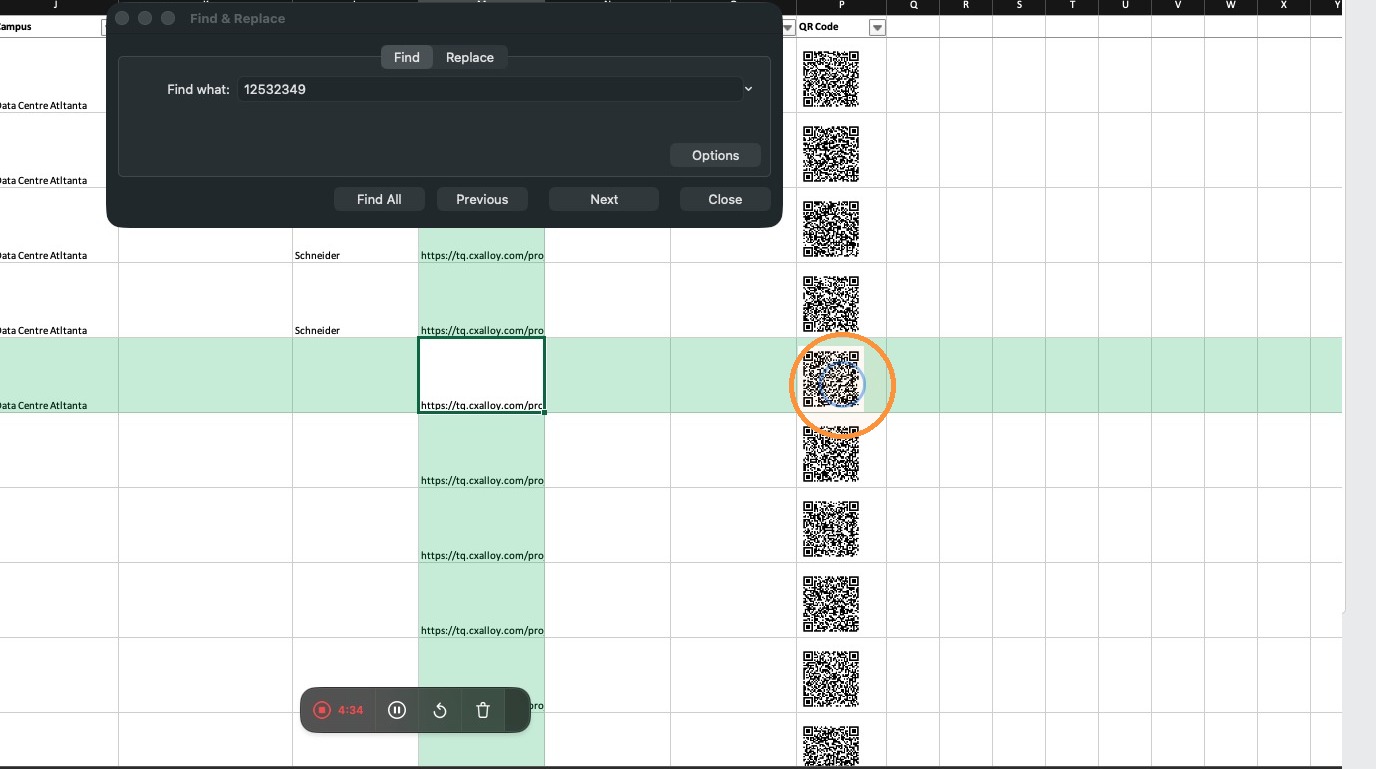
27. Select the QR code image
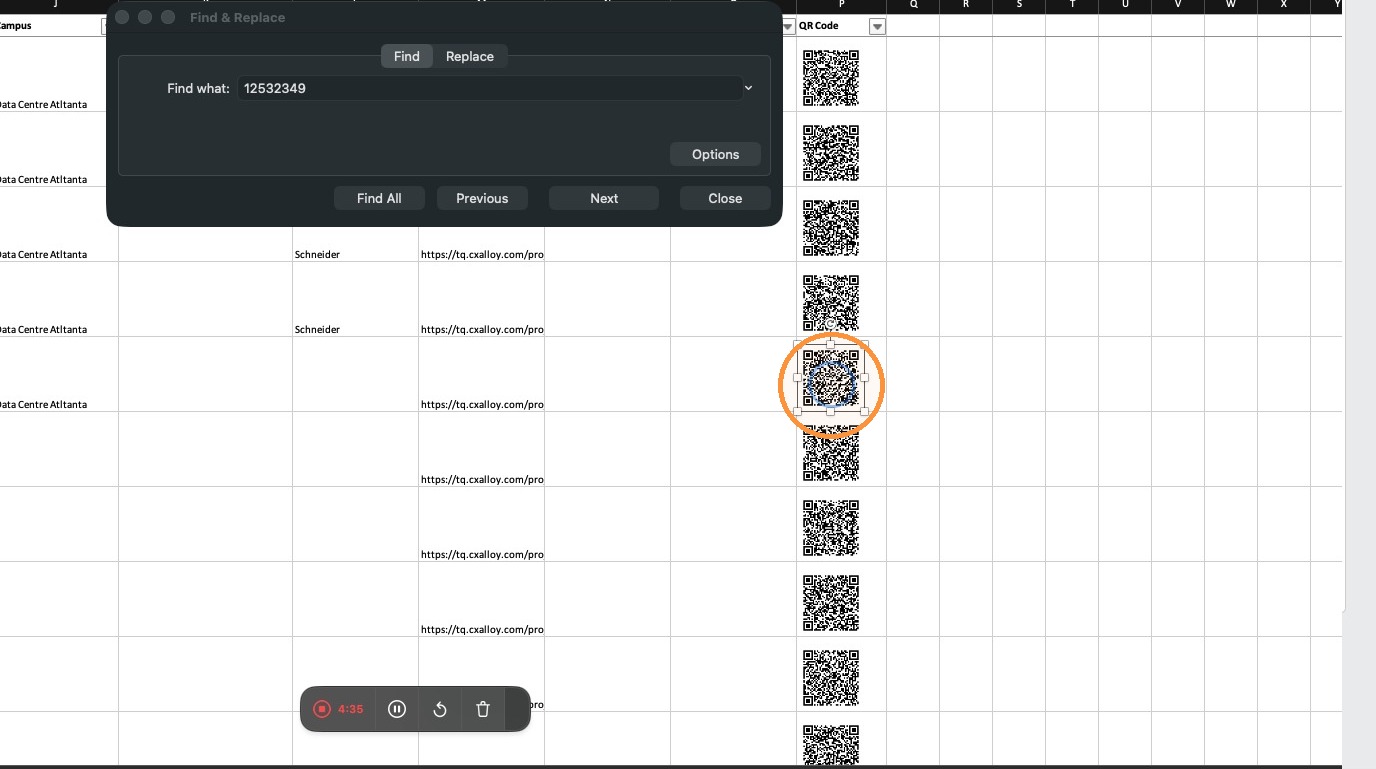
28. Right-click the QR code image
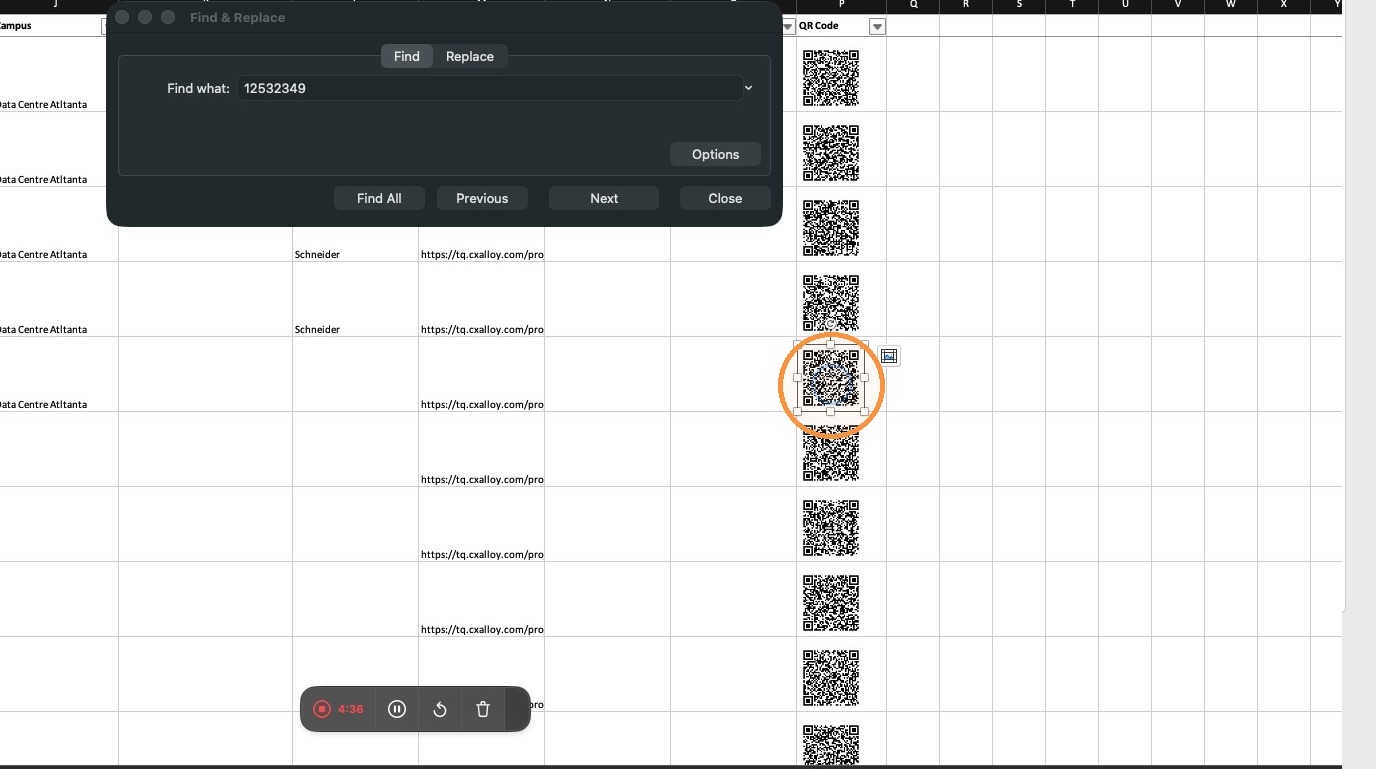
29. Select Save as Picture...
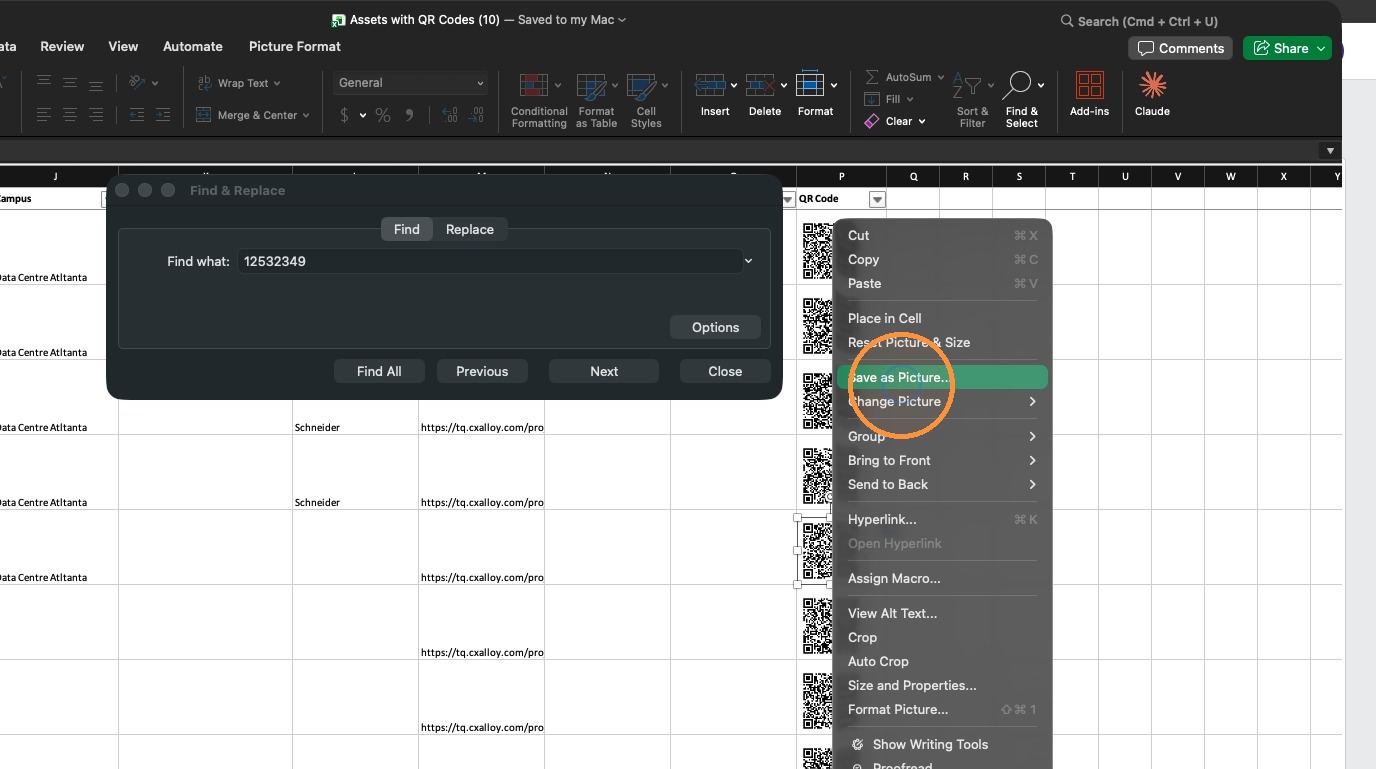
30. Save the QR code as QR Code for AHU.png
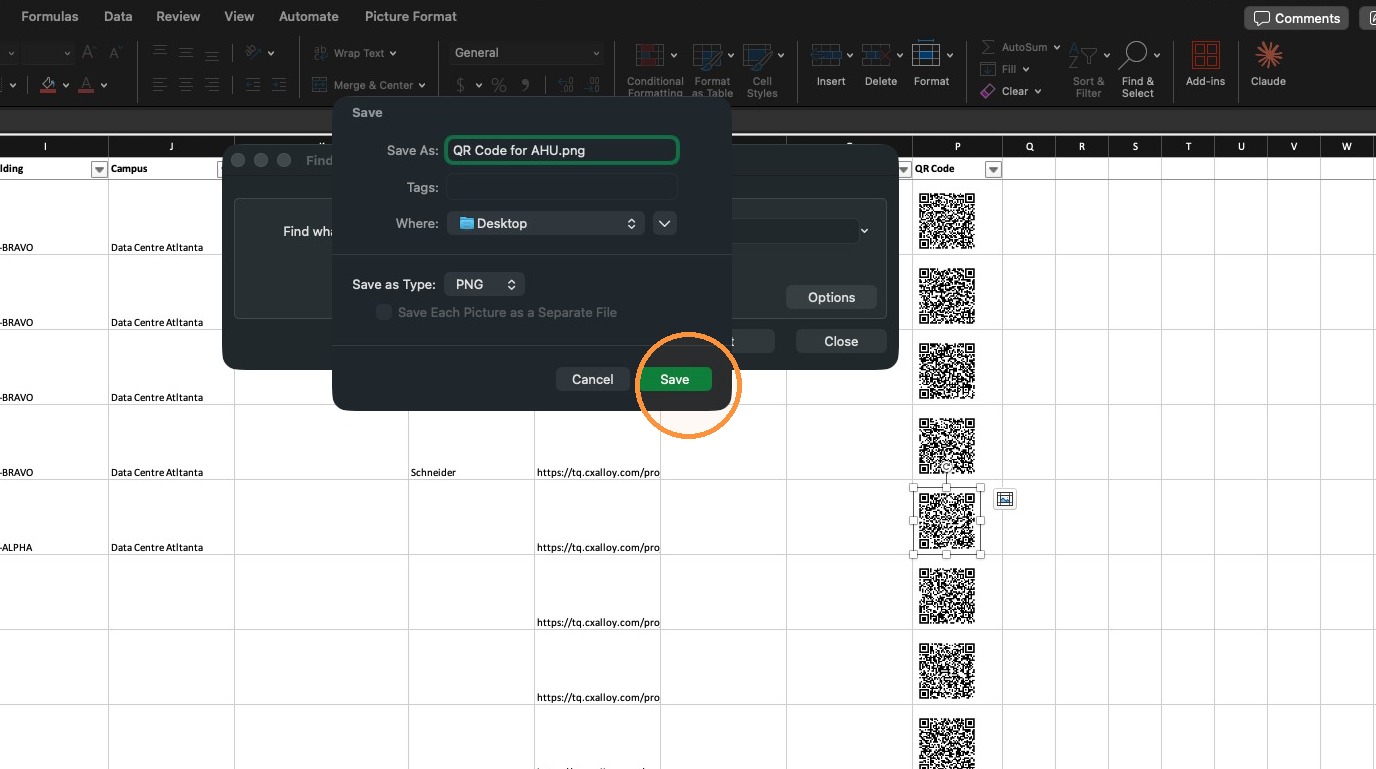
31. Close the Find and Replace dialog
Checklist Upload
32. Open the AHU-1 equipment record in CxAlloy
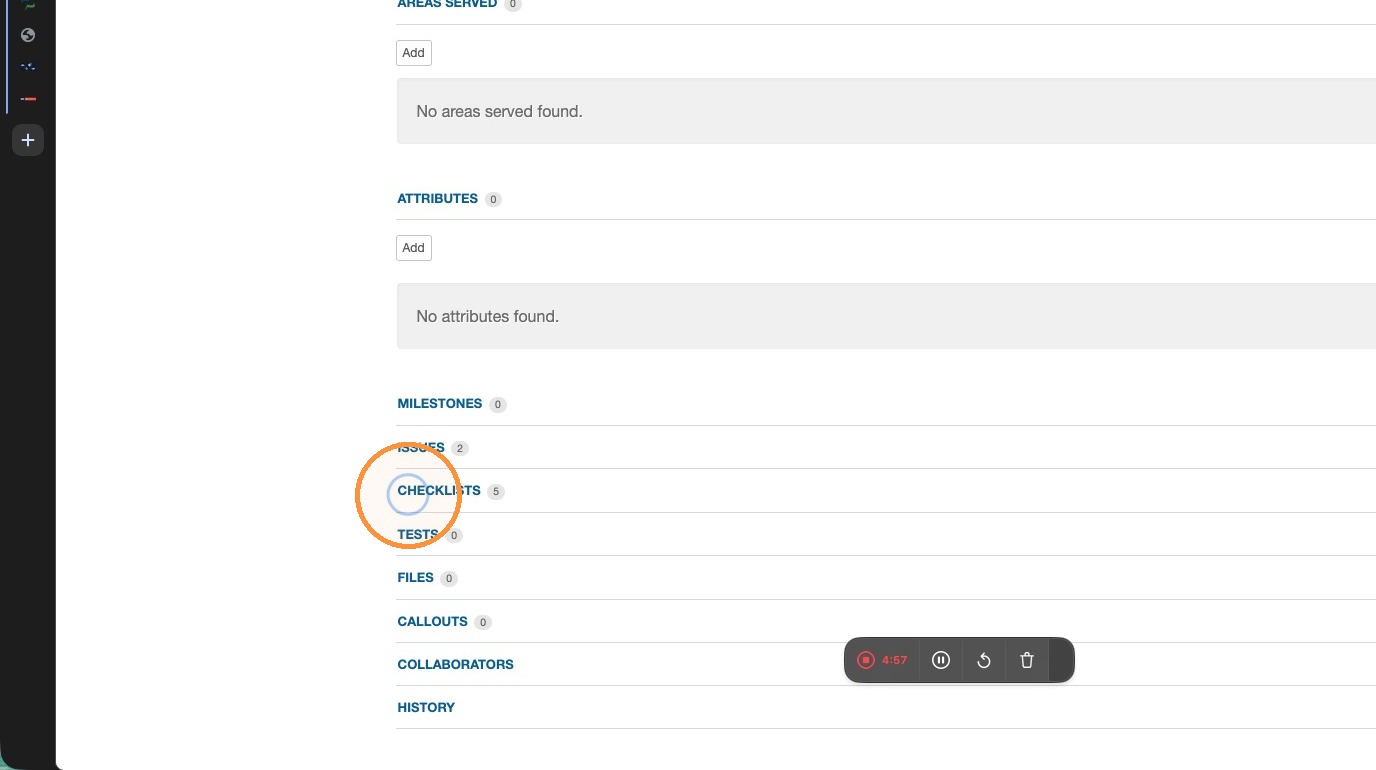
33. Expand Checklists
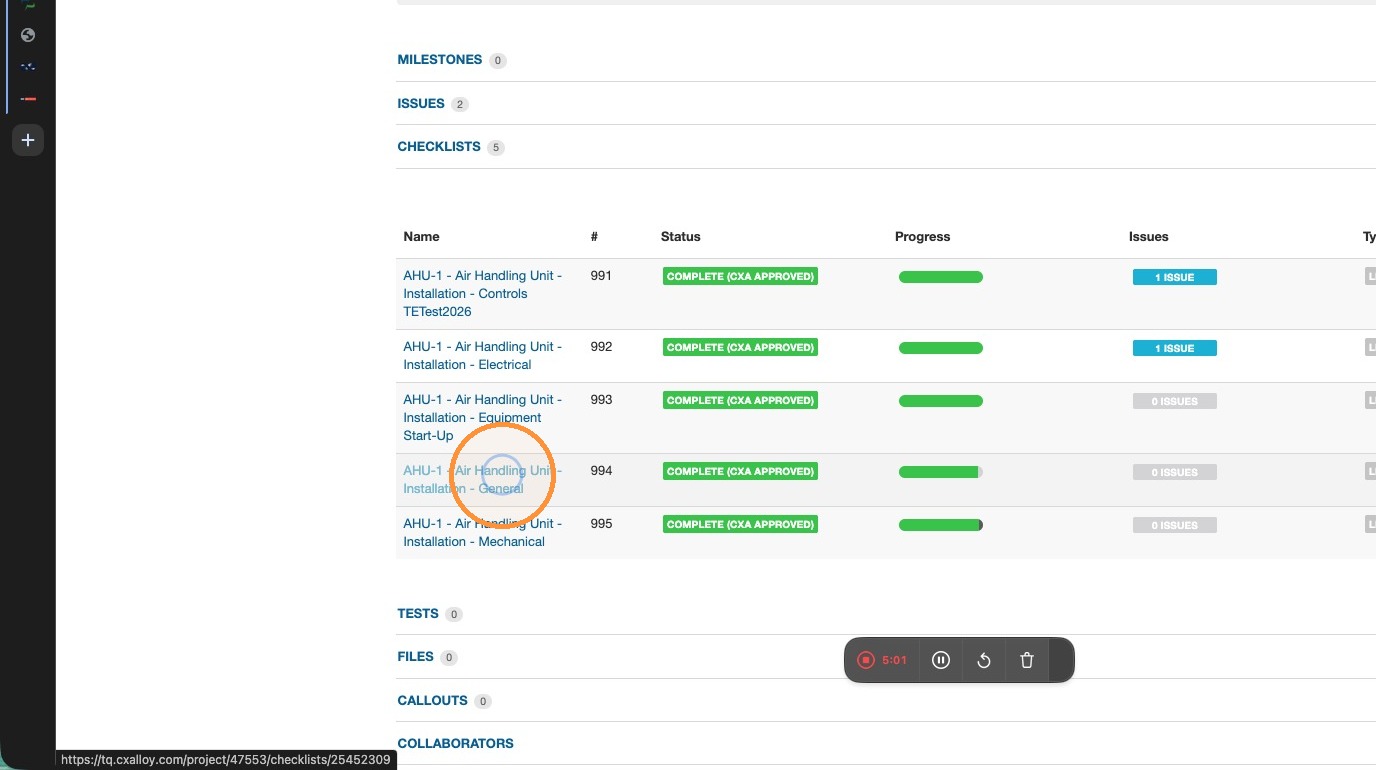
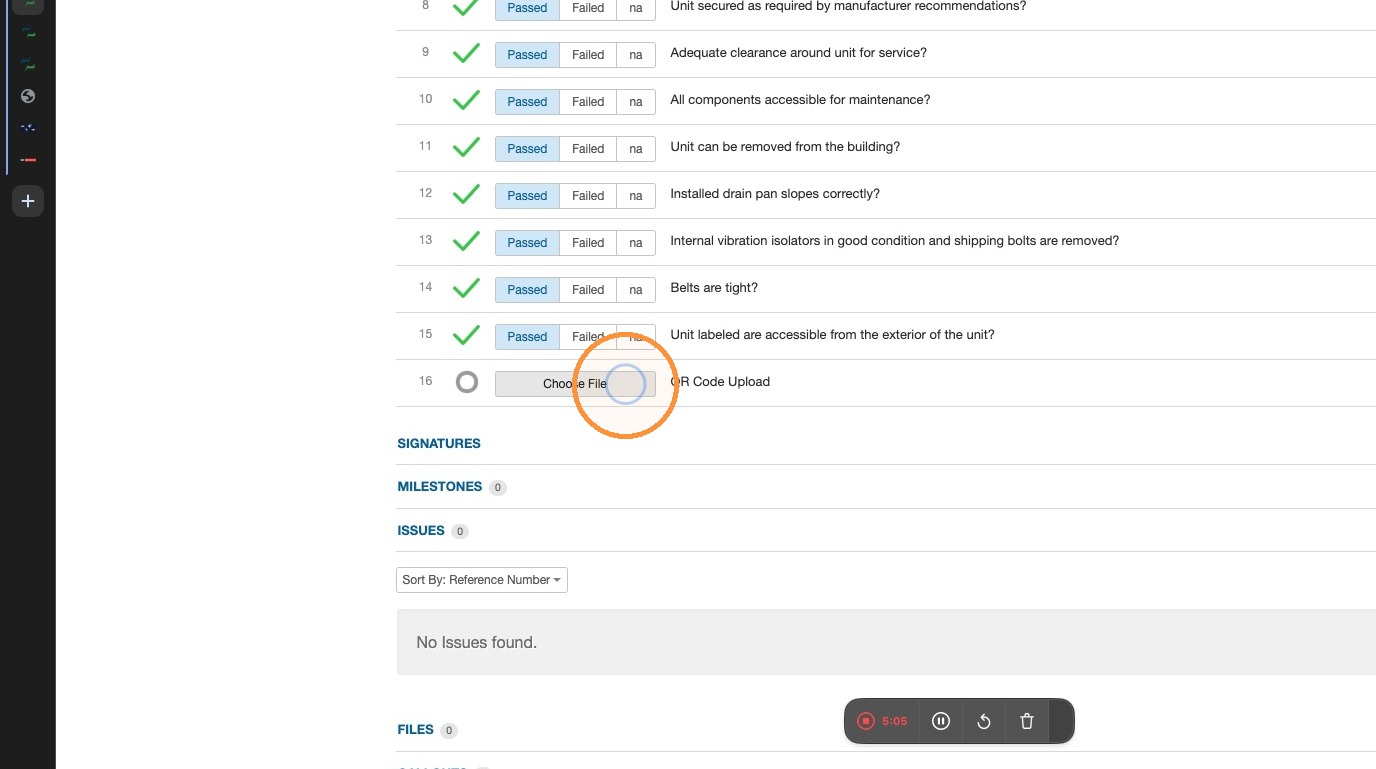
34. Open the associated checklist where the QR Code will be captured
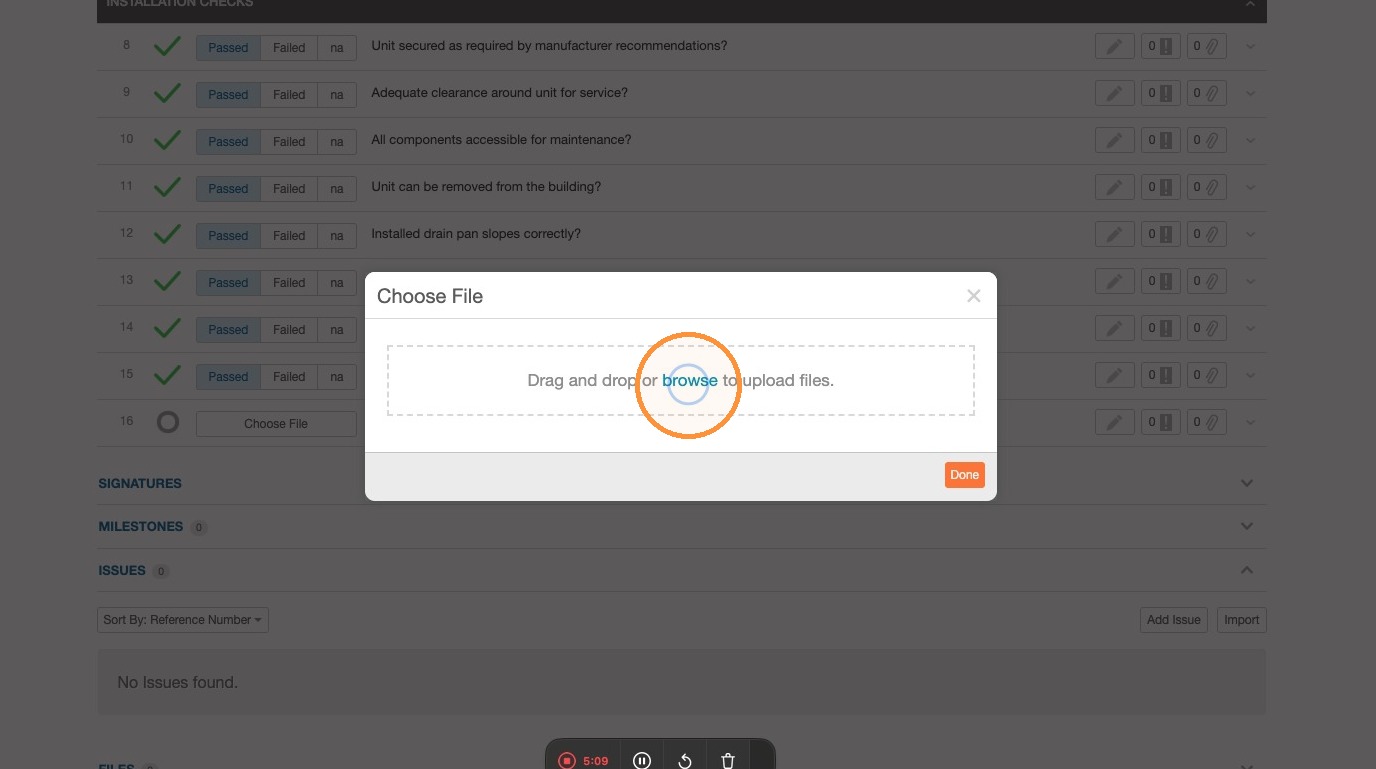
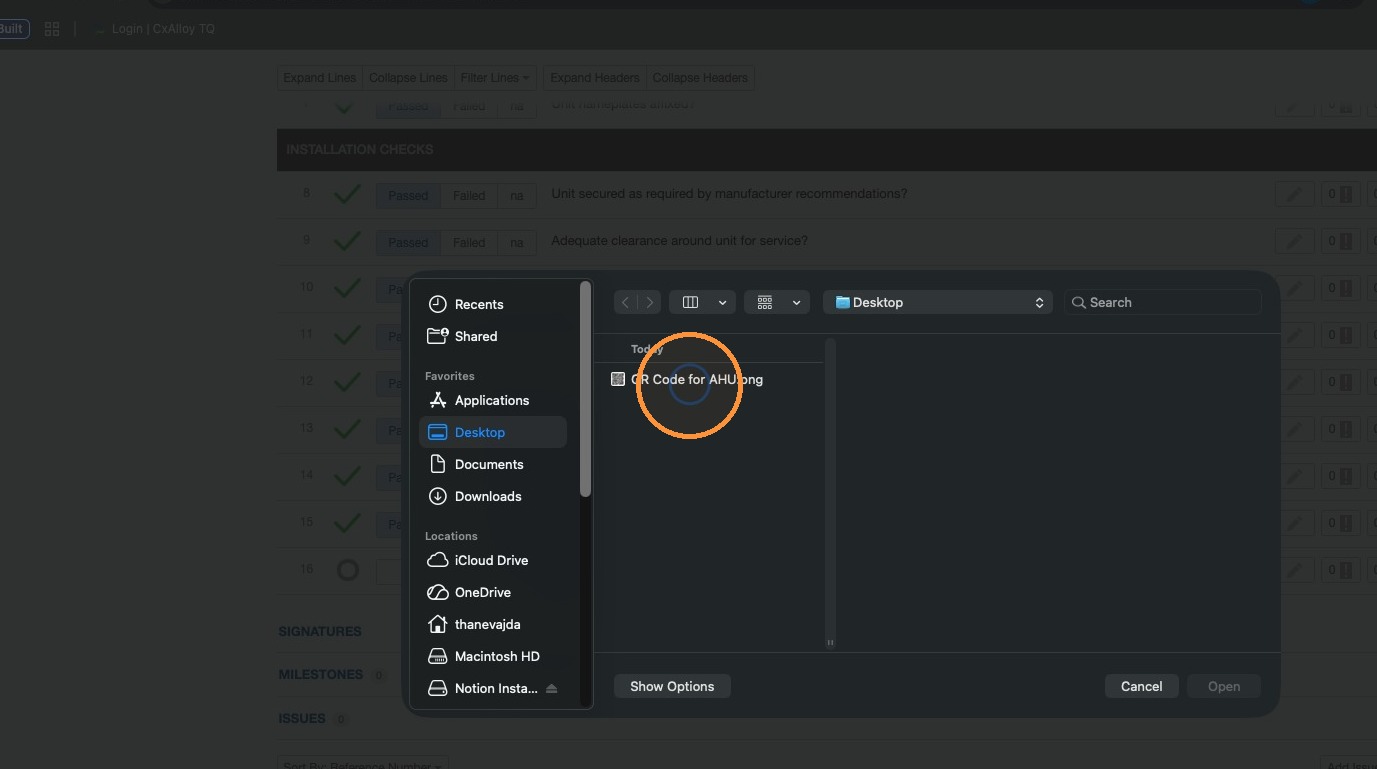
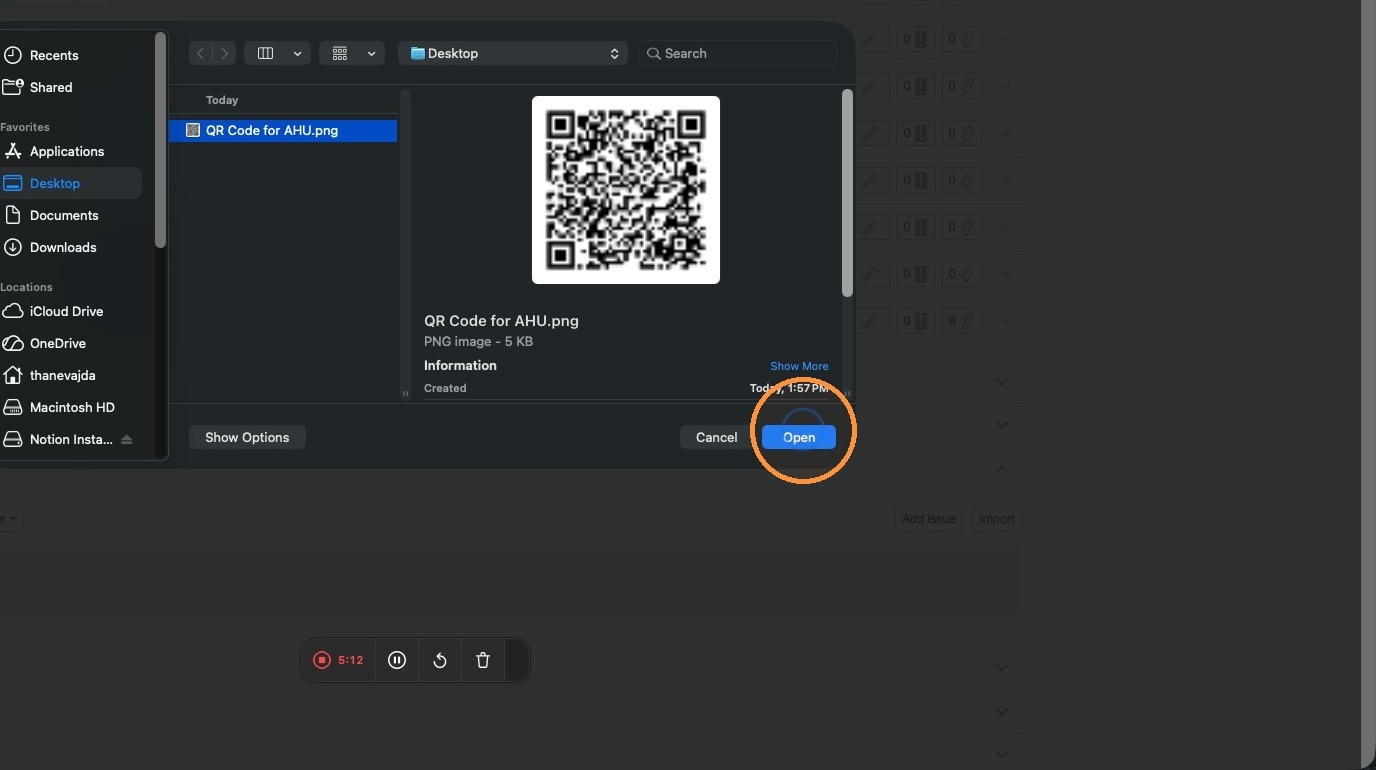
35. Browse for and open the QR Code for AHU.png file
36. Select the uploaded QR code
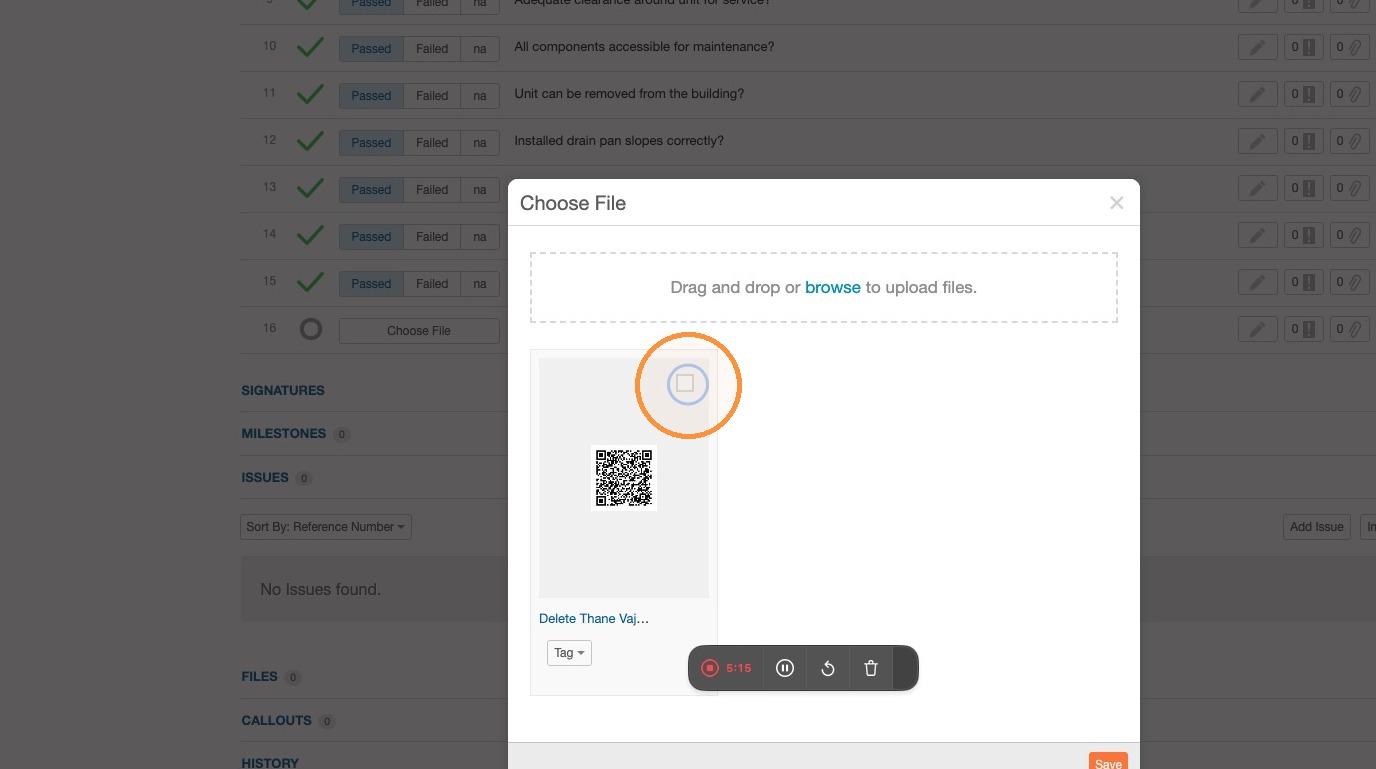
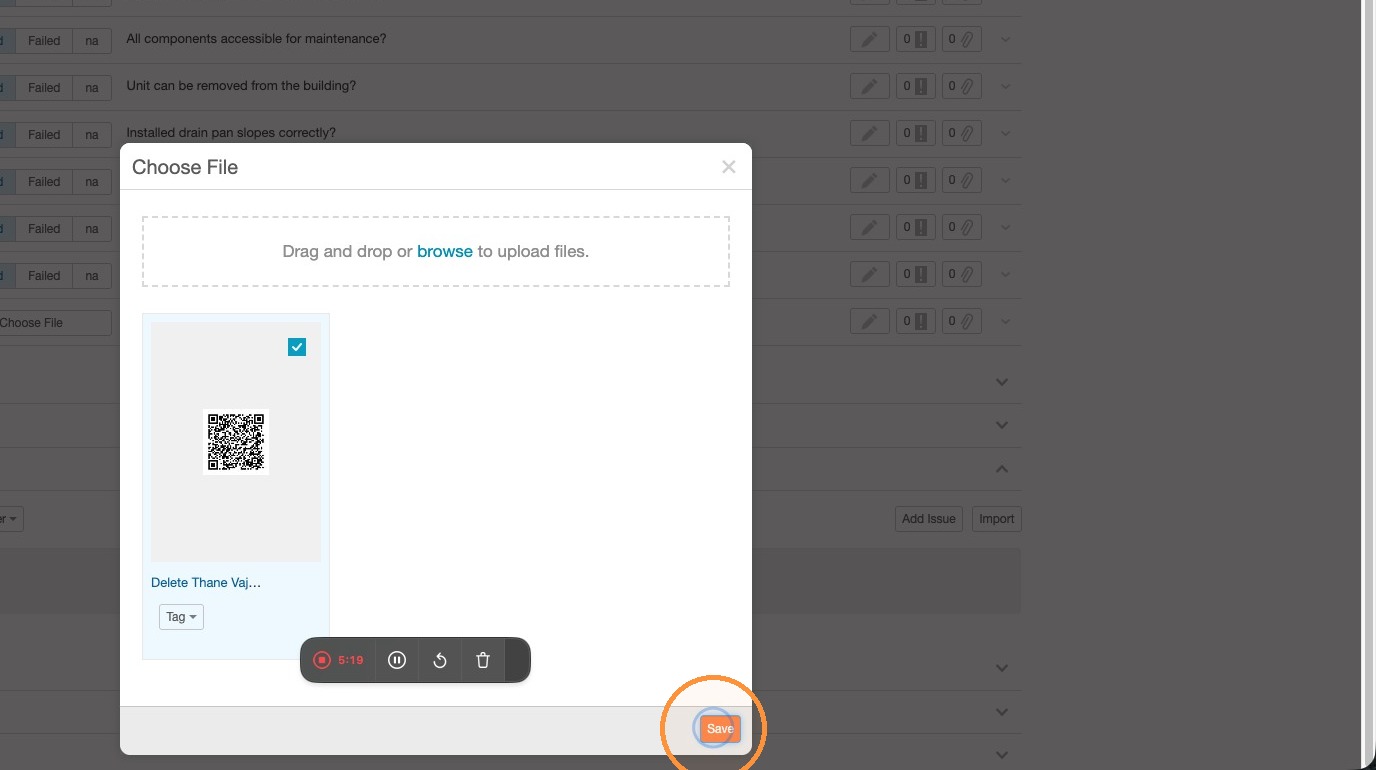
37. Save the uploaded QR code
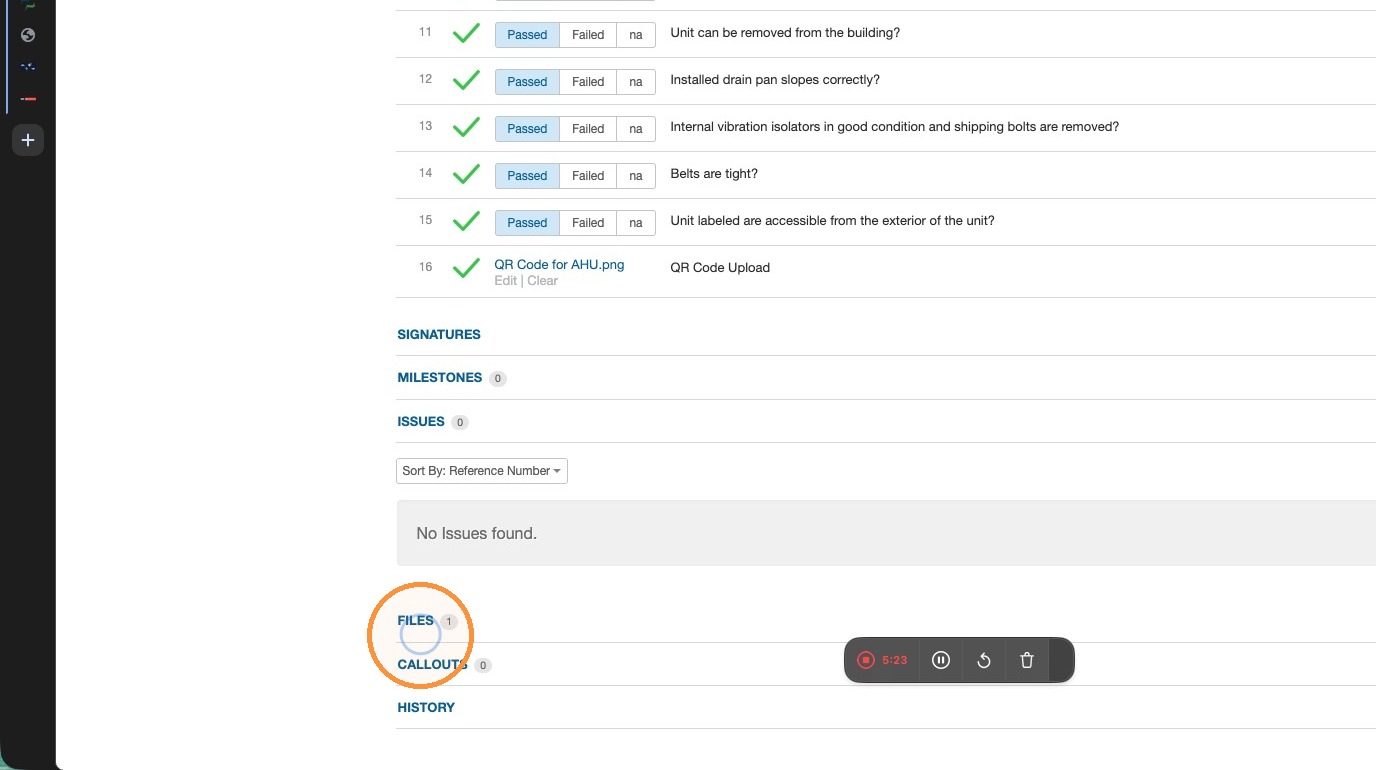
38. Expand Files
Upload Verification
39. Open the uploaded QR code and review with associated mobile device